 Stitch repeated on same seam with different setting…when I reread what I just wrote I thought maybe I have done a few to many cryptic crossword puzzles lately…When my sister saw the Candy stitch that I did on one of the stockings she thought that it should be on both stockings because it is such a happy stitch, I decided to do it on the matching seam of the second stocking…I like that even though the candy stitches are the same colours and angles on both stockings, the different embellishment at the bottom of the seam gives each a different look. Stitch repeated on same seam with different setting…when I reread what I just wrote I thought maybe I have done a few to many cryptic crossword puzzles lately…When my sister saw the Candy stitch that I did on one of the stockings she thought that it should be on both stockings because it is such a happy stitch, I decided to do it on the matching seam of the second stocking…I like that even though the candy stitches are the same colours and angles on both stockings, the different embellishment at the bottom of the seam gives each a different look.
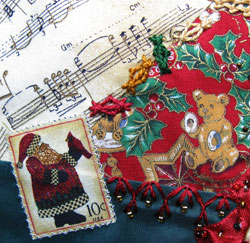
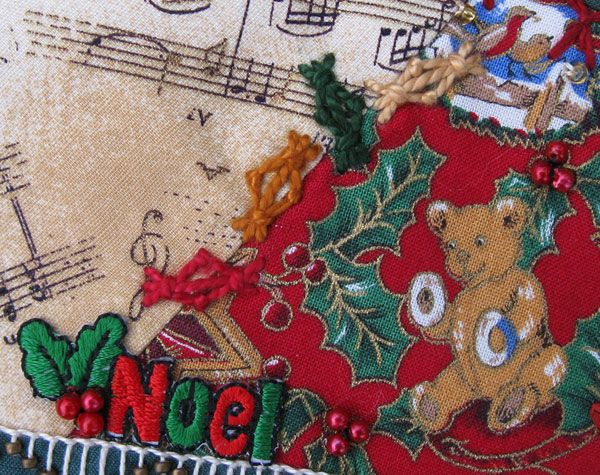
The iron on Noel motif is the same as on one of the original stockings and as well as adding holly beads to the motif I added holly beads to some of the holly on the bear fabric.
|
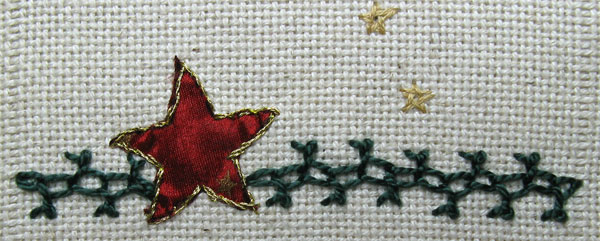
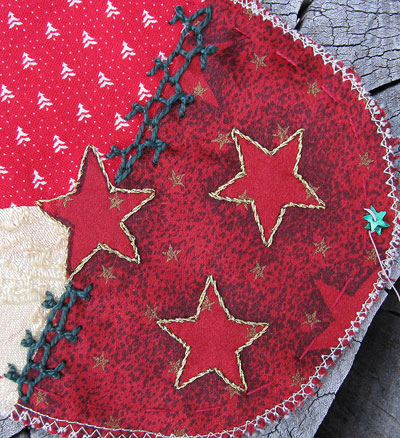 Having emphasized the small stars on the first stocking toe I have emphasized the big stars on the second stocking toe. Having emphasized the small stars on the first stocking toe I have emphasized the big stars on the second stocking toe.
The stitch I did on the seam is Crested Chain Stitch with alternate stitches flip flopped from one side to the other of the seam, which I really liked on detail 371.
|
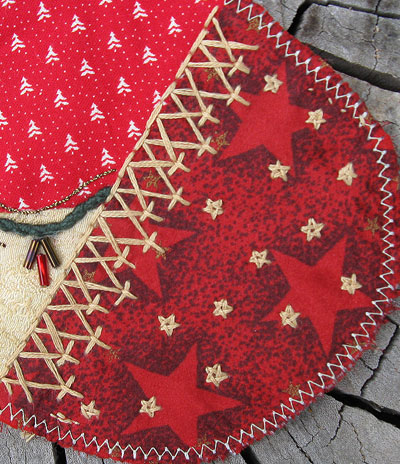
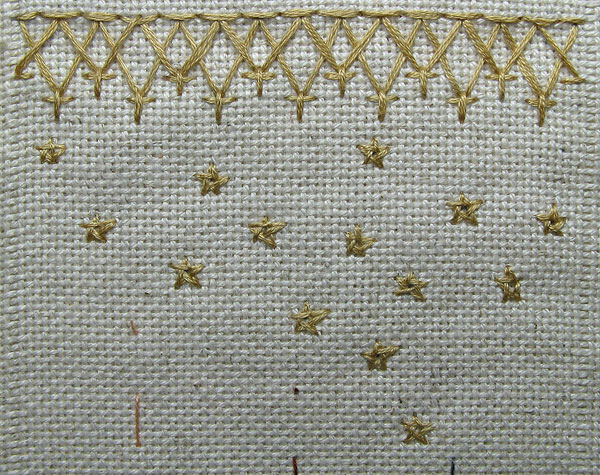
This Chevron Stitch variation is a combination of details 675 and 676, I wanted to do detail 675 but I thought I needed a one sided seam treatment which is what detail 676 is but when I stitched the seam it didn’t end up like either of them and I wasn’t happy with the look of the new variation it was chunky and visually cut the toe off from the stocking instead of connecting it…this one had me stumped for a while until I showed my sister who immediately suggested that I use the same thread is used for the seam to highlight the little stars on the fabric, perfect, the stars lighten up the seam and flows out of the stocking connecting the toe to the rest of the stocking.
This seam evolved from ideas on my sampler and then gone full circle back onto my sampler as yet another idea.
|
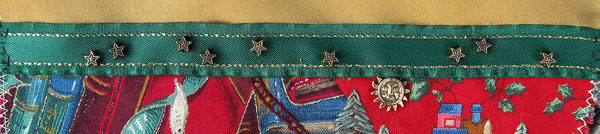
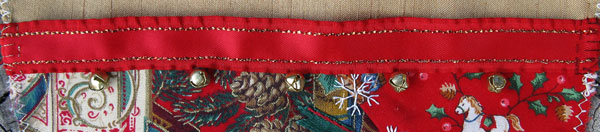
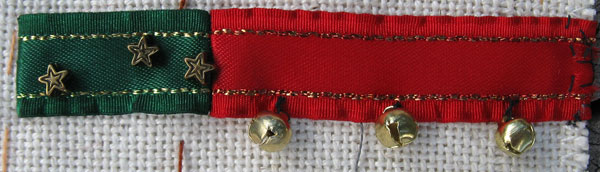
For the tops of the twin stockings I have the same ribbon in 2 colours…choosing which stocking to put which colour on was easy the green ribbon definitely looked better on one, the red definitely looked better on the other…I scattered the star beads along the top of the green one and was going to do the same on the red one but I only had a few stars left, went looking for what else I could use and found the little bells, I did also find more star beads but by then I preferred the bells both because I liked the way they looked and because they really help to make the top of the stockings look very different…I have only tacked the bells on for the photo and will stitch them on permanently after I have embroidered the name on the top.
|
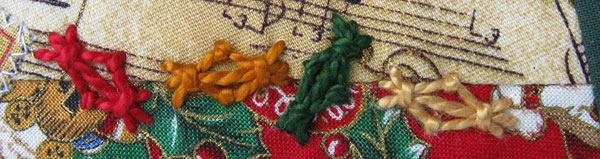
I described how to stitch these little Christmas candies in this previous post …This time I have done them with different coloured wrappings.
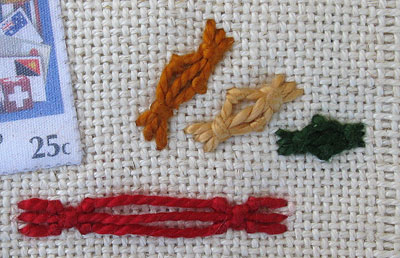
An advantage of working on the sampler is that if I have an idea I can try it and record it at the time, as I was stitching the candies I realized that longer stitches would probably make a Christmas BonBon/cracker I needed to put 2 couching stitches at each end to get the shape of the cracker end and the tension of the outside stitches is a little harder to gauge but on the whole it does make a good BonBon.
|


