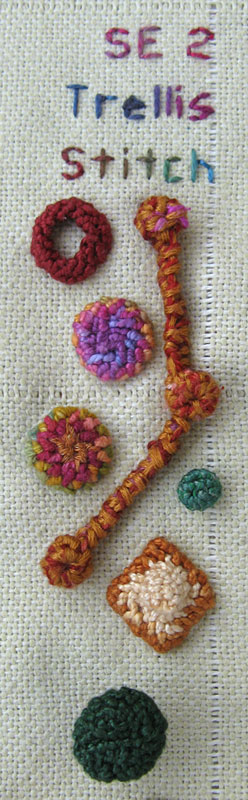
When Sharon showed me her Trellis stitch samples I was excited because I immediately thought of some cute things that I could do with it and I have had more ideas since…but first things first I have to learn how to do Trellis Stitch instructions.
Thank you Just String Blogspot for the clear instructions.
The mechanics of the stitch, wrapping the thread over and under the needle is much the same as a twisted chain so that bit was easy, getting the tension and when/how much to increase/decrease took a little practice although I am finding that it is very forgiving and a missed stitch or an extra stitch doesn’t stand out.
I started with a ring and a couple of circles, the second one changing thread for the middle of the circle…I then moved onto a wall with towers at the corners…The little green spot is a bush not very exciting in itself but I started with just a few stitches and increased a little before decreasing and as I was increasing it was forming a funnel shape and I realized that Trellis stitch wil make great Fungi shapes.
Next I did a pyramid, a wonky pyramid because I decreased to quickly.
while I was stitching the pyramid I was looking at my bush and thought, a little bit bigger with a brown trunk and it would be tree…
To make the tree I started with 4 stitches set in a square and worked spiral trellis stitch till it was about 1/2 inch high and then added a branch to the side.
To make the top of the tree I worked 4 rows of Trellis stitch increasing each row at which point I joined the branch.
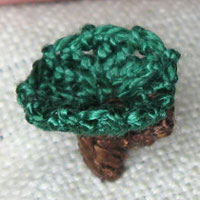
I then worked 1 row without increasing and then decreased to the top of the tree.

|


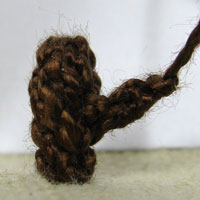
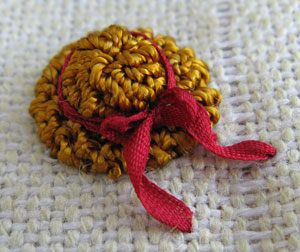
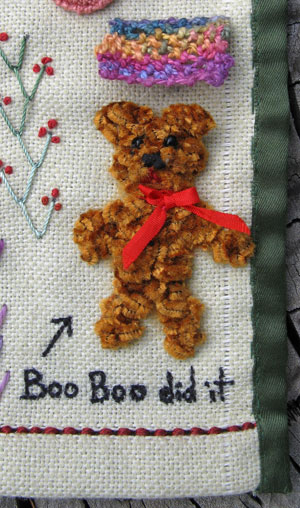 Last week when sewing with
 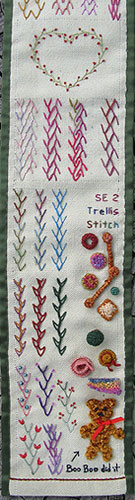 I named him Boo Boo because he reminded me of my child hood bear who was in turn named after Boo Boo, Yogi Bear’s offsider…And what did Boo Boo do? I blamed my child hood bear for the naughty things that I did and this little Boo Boo left brown fluff on Sharon’s floor.
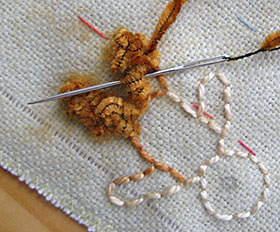
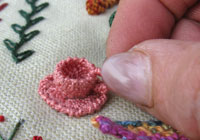 I used a fine silk thread for this little Tea Cup and Saucer and it was somewhat tedious to stitch but I will do tedious if it means I can make cute things.
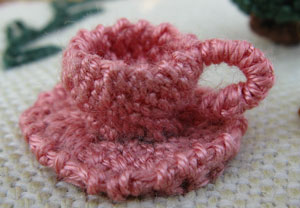
 When I was Stitching the tree I kept looking at my
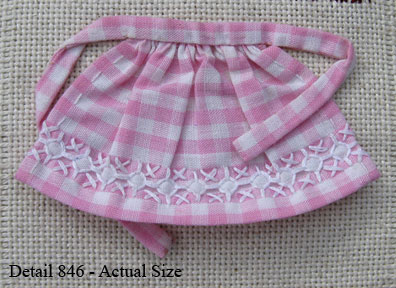
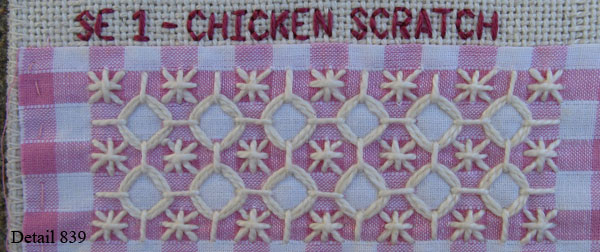
 That is all the chicken scratch that I am going to do so I have taken a photo of the whole chicken scratch section.
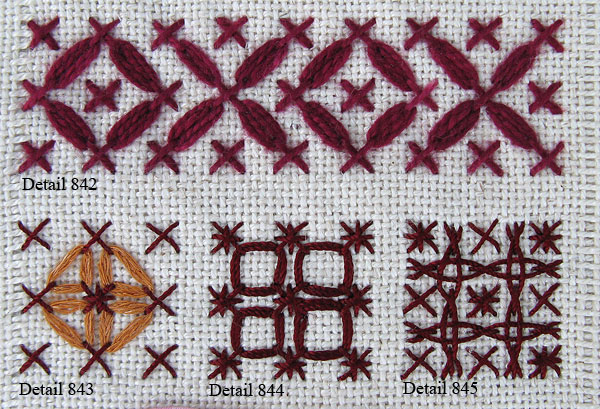
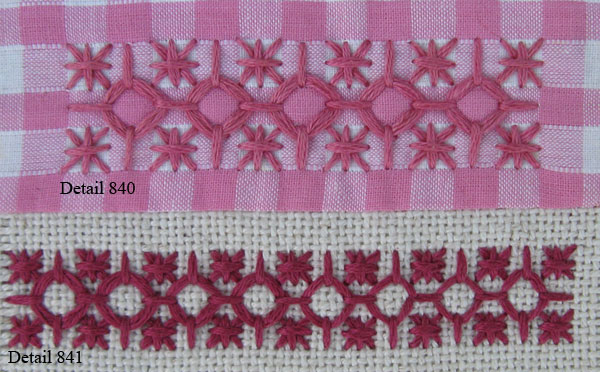
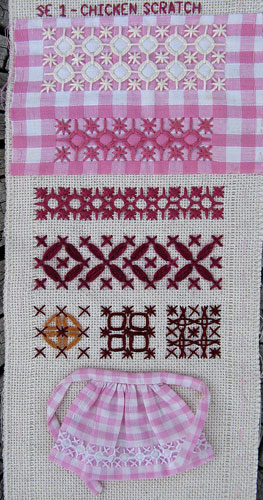
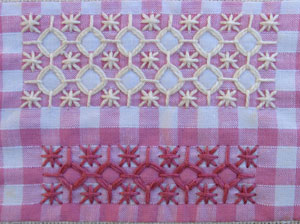 The next obvious variation of chicken scratch for me to sample was reverse chicken scratch, the image on the right shows the chicken scratch and reverse chicken scratch together, I love how the change of thread colour has the appearance of changing the colour of the ground fabric.