Dentists aren’t commenly connected to crazy quilting but for me they are or at least one is…Visits to the dentist with my daughter used to be Very traumatic for both of us until she started seeing Dr T and his assistant E, 2 very special people, they talked to Jessie about things she was interested in and got her confidence so she didn’t mind going which took the trauma out of going to the dentist…and as they got to know us and what I do they started saveing the little bottles for me and every visit they would give me a few…we haven’t seen them for a while and the today I was in there to see another dentist but we passed Dr Tang in the corridor and he said Hallo, and could I wait a tic because he had something for me, he went back to his surgery and came back with a bag of little bottles, he is still saveing them for me which I think is really lovely…These little bottles from the dentist are my favourite bead bottles.
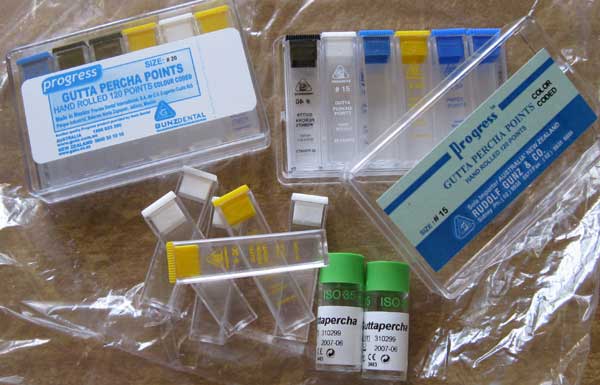
I clouded and/or scratched the plastic of a few bottles trying to remove the labels from the round ones, in the end it turned out easy to remove them the trick is to soak them in soapy water, overnight so that the water can soak in under the plastic coating, then let the labels dry before soaking them again for a few hours after which the label simply peels off.
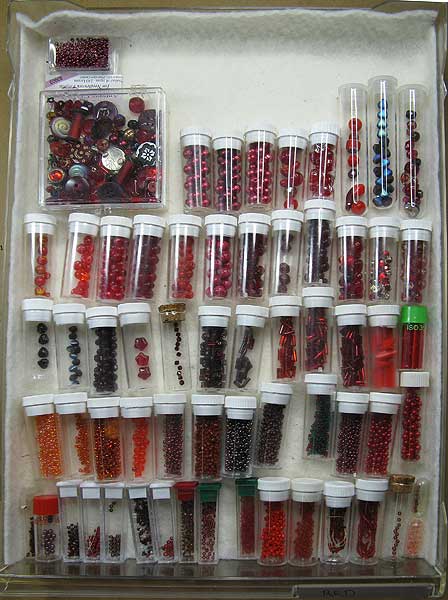
My Bead Storage is based on small bottles including purpose made bead bottles, my dentist bottles, perfume bottles, medicine bottles and any other odd bottles.
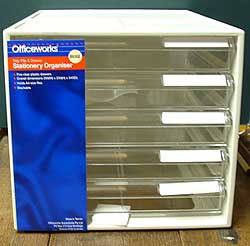
Originally I stored the bottles in chocolate boxes, they are now stored in stationary draws…There is enough flexability in the plastic to pull the draws out of the unit, I use plyers to snap off about half the little plastic bits that are there to stop the draws coming out, leaving just enough to catch so that I know the draw is nearly out but allowing me to keep pulling so that the draw comes out as a tray.
I line each draw with cotton batting so that the bottles don’t rattle about when I am using them.
Holiday Snaps Day 24
|


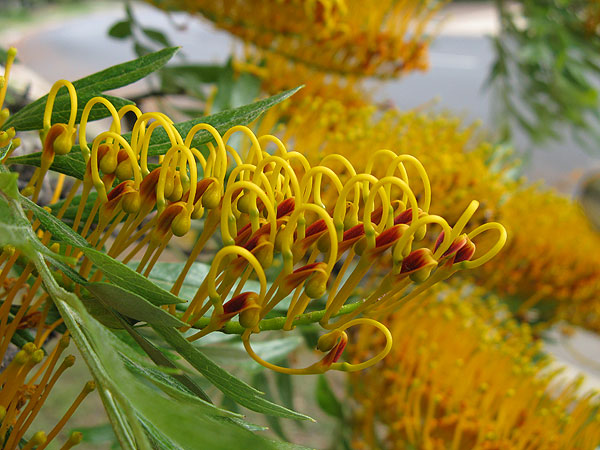
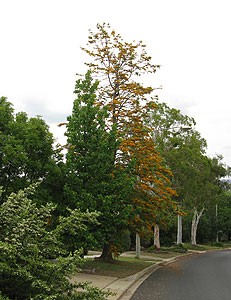 I had a frustrating morning which had left me feeling drained and as glum as the overcast day…Then this afternoon I picked my neice up from school and on the way home we passed my favourite tree, it is bright yellow and always makes me smile, I remembered that I had my camera in my bag so we stopped to take a photo, the day was to overcast to get a good photo of the whole tree but you can see the colour in the close ups of the flowers and see why I would think of it as a bright spot in any day…I don’t know what species it is but it is a Grevillea which are native Australian plants.
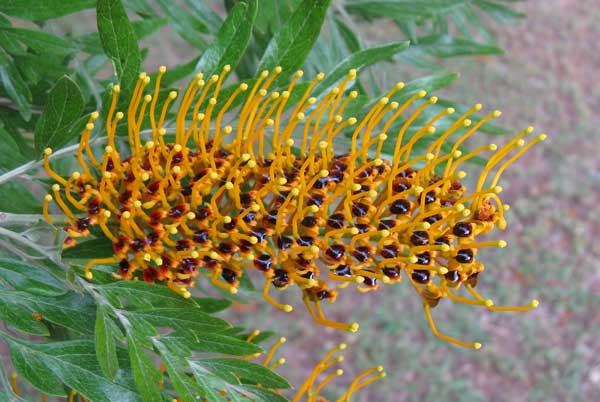
 When
When