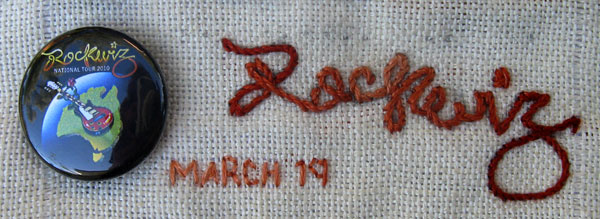
Rockwiz is a Rock Music Trivia Quiz produced by SBS TV, you can watch episodes here…Rockwiz is currently doing a National Tour of Live Shows and we had tickets to last Friday’s Show in Canberra…It was a fabulous show…For the quiz they have 2 teams, each team has an invited guest and 2 audience members, the audience members are selected by quizing 24 audience members (who got wild cards) and the 4 answering the most questions are in the show…I have explained the process so that you can understand why it was an extra special night for us as a family, my daughter has a huge musical knowledge and was absolutly thrilled to get a wild card to be one of the 24 and after all the problems that she has overcome in her life we her family where thrilled to see her confidently buzzing in and answering questions correctly, she didn’t make the final 4 but that didn’t matter, just having the experience made it a night to remember for us all.
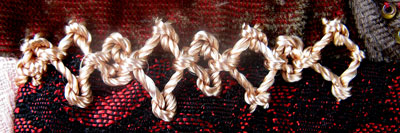
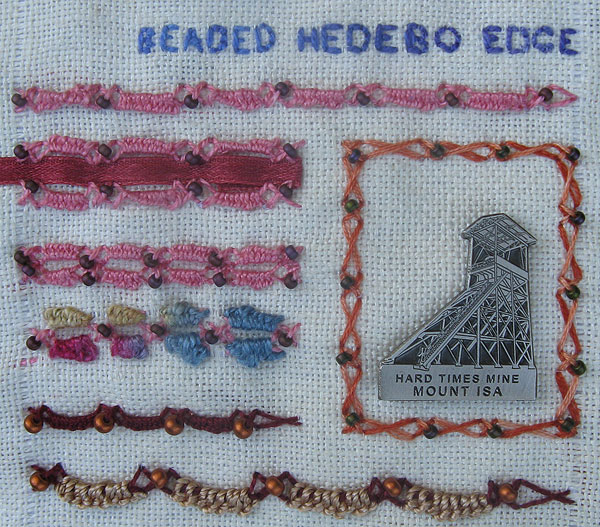
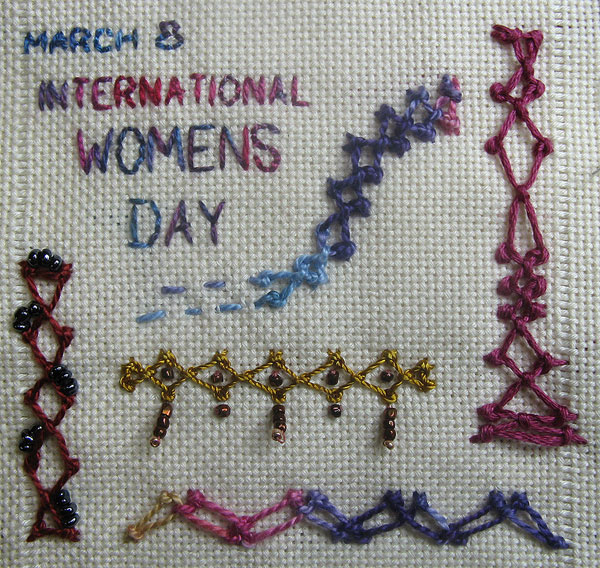
These are my first Beaded Hedebo Edges. Every time I do the base of cross stitches for this stitch I think how pretty it is, so when I used it as a frame I added only the beads to it.
Again after doing variations of the stitch that seemed obvious to me I had a look around the blogs linked to Sharon’s comments and found a few ideas that I liked.
I found 2 Blogs who saw fish in the knotted loop stitch and was interested in how differently they used the stitch to make there fish skeletons. both stitchers have also used the knotted loop stitch to make seaweed with there fish.
The fish on the right is a Stitchinwomen skeleton fish
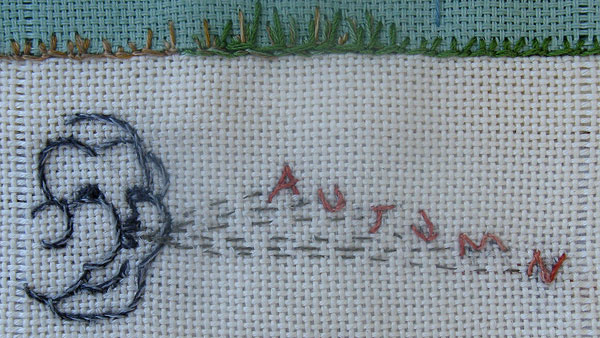
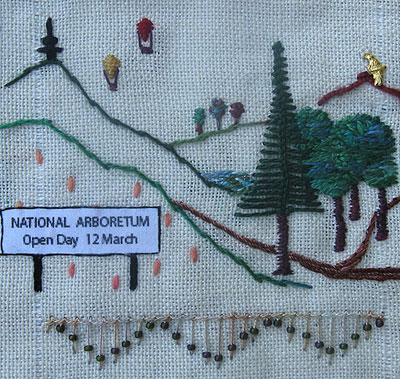
Knotted Loop Stitch makes good leaves and it follows that it could also make good trees and I used it to create the trees in this detail that records a lovely early morning walk with friends at the National Arboretum being etablished in Canberra…The site of the arboretum has panoramic views of Canberra in all directions, The Hot Air Ballons were up and after the rain we have had recently everything is green and as pretty as a picture…
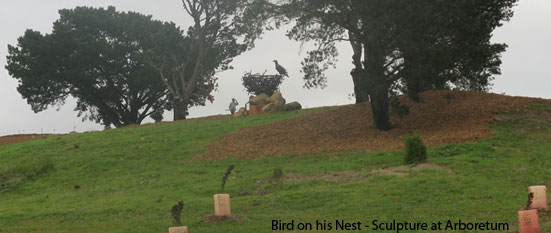
The Bird on the Mountain could well be to represent the Sculpture of a bird on his nest at the Arboretum(great sculpture made out of old rusty metal car bits and tools), but its not, what looks like a mountain was supposed to look like my roof,off in the distance, just pocking out above the trees and the Bird on My roof is to represent Bird Roofing Restorations who restored my roof last week.
The detail at the bottom is Knotted loop stitch with beads added.
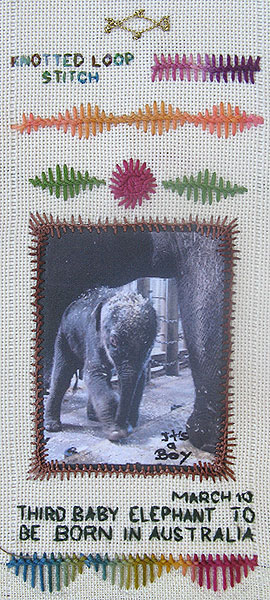
The little bit at the top is a last diamond stitch because I wanted to see how it would stitch with Metalic thread.
The first Row of Knotted Loop Stitch is the basic stitch done in a size 5 cottojn pearl thread.
The second row, done with a soft thick cotton thread, forms curves down each side by altering the length of the stitch.
Leaves is an obvious use for knotted Loop stitch.
On the 10th of March a third baby elephant was born in Australia, this little guy, nick named Mr Shuffles is kinda special, thought to have died in in the womb only to be born alive and now after a shaky start is doing well…I have used knotted loop stitch to frame his photo.
The bottom row is the thick soft cotton thread with one straight side and one shaped side making it look like a fringe.
After I had done my diamond stitch variations I had a look around to see what others had done with the stitch and here are a few that appealed to me.
For the curved detail I have shirley’s twisted threads to thank, I love the way the Shirley used the running stitches to finish off the end.
For the vertical detail on the right I have Maureen to thank, I liked the line formed by the mixed random sized seam, looks a bit like a tall candle stick.
I started with a size 5 cotton pearl thread.
Then tried it with a size 5 Rayon pearl twist thread.
Still using the rayon I elongated the distance between the stitches,.
Then using a size 8 cotton pearl I worked alternate stitches wider to get a zig zag edge.
With a size 8 Rayon Pearl twist thread I not only alternated narrow and wide stitches but used a longer stitch at the edges of the wider stitches.
I like this stitch but don’t much enjoy doing it because it is realy hard to keep an even tension on the loops so for the bottom row, still using the size 8 Rayon, added a bead to the thread before doing the left side loop and then went through the bead again to connect the diamonds, it was a little easier to work but it was still difficult to keep an even tension.
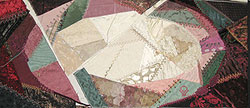
To use Diamond Stitch on a crazy quilt I have done a seam on my Box Top.
With the change of background colour for the new month the seam is also covered with a change of colour, the grass which has been brown for so long turned green with the rain and grew, some of it has been mowed.
and with the new month autumn has blown in with the wind.
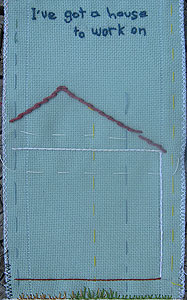
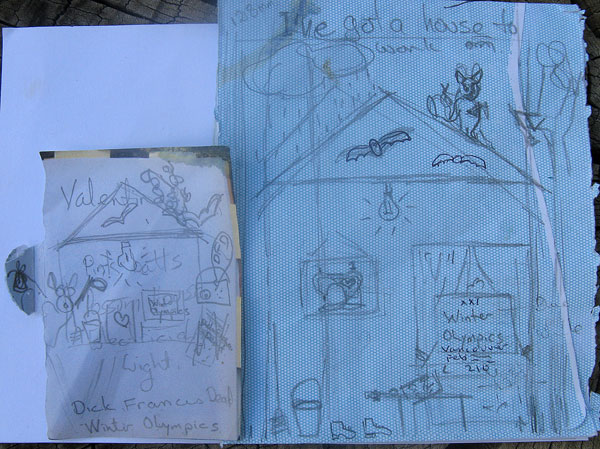
Febuary was a buzy month when I got a few things done to the house…when I sat down with Sharon to work out which events I would include on my sampler, I started with a written list on a small piece of paper (see image below), when Sharon interpretted pink insulation bats as pink Bats I drew a roof with bats flying around in it and before I knew it we had incorperated all the events on the list into a cartoon style drawing of the cross section of a house…I am still working out how to interpret some of the drawing but am posting the detail in progress so that I can keep the sequence of the sampler in order but still go on posting the TAST II stitch before the next one is out. I will add the finished detail and point back to it when I have it finished.
I have pulled my box top out again and am aiming to do at least one seam a month which means that it could be done by the end of the year
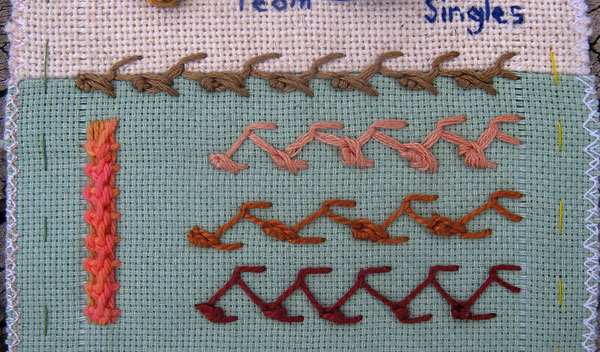
It was meant to be Thorn Stitch (a variation of feather stitch) but as I got near to the end of the seam I looked at the instructions again and found that I had been doing something different….
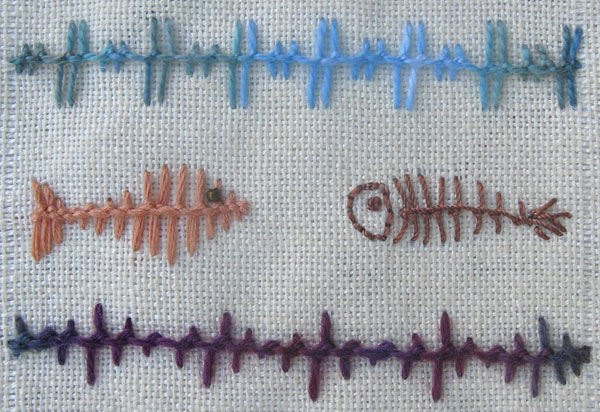
And so to my sampler, the first thing to notice is the change of colour, I have decided to change the colour every month with the alternate months being different colours.
the top band is the stitch as I did it on my boxtop
the second band is how i reinterpereted the instructions
but still it didn’t look like the picture, another look at the instructions from which band 3 was done.
the instructions I was following where some I had printed at a very small size (to make them handy to carry in my sewing box), me thinks now that they were to small, after referring back to the full size intructions the 4th band is Thorn Stitch.
What did I learn from this stitch?…I learnt that miss reading instructions can be a good way to come up with different stitch variations.
the short seam on the left is raised band feather stitch.


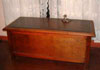 To use Diamond Stitch on a crazy quilt I have done a seam on my