Annies Crazy World


  • About

    This is Annie Whitsed's Crazy World a world where I stitch the joys and chaos of life into beautifull crazy quilts. email annie@loopylace.com
Locations of visitors to this page Subscribe with Bloglines
 
The white Heart finished – Details 481 t0 483 January 11th, 2008

Last nights post was so long with so many images to manipulate that I lost track and forgot to do the final image of the finished Heart…I remembered that I had not done it this morning, when I was at the post office sending it on its way.

To Finish the embellishments I put a bride and groom charm in the centre and balanced it with the silver butterfly on the upper right and the silver heart charm on the left, I like the single spot of colour provided by the pink stone in the middle of the heart and the bow around the heart charm balances the texture of the flowers…Then the big question when is a piece of crazy quilting finished? Was it finished or not, a part of me was saying Yes the section above the bride & groom charm looked empty but any charm/bead/button that I tried there distracted from the rest of the heart so it probably is finished but that area does look empty, the best of the beads I had tried was some little stars, I tried them again, to big but what if I use silver metalic thread to embroider stars, with a scattering of stars the heart was finished.

White heart #2 finished

Constructing the White Heart – Detail 480 January 10th, 2008

Window Template over white heart

On the last seam I did a Double Feather Stitch with Colonial Knots.

Then before adding embellishments I cut a window template to help place them, which is just as well because I found that the flower trail was cramped on the edge, fortunatly I had enough in the seams to make the heart about 1/4 inch bigger which gives just enough extra space so that it isn’t cramped.

To Draw a basic heart shape Draw a square and then draw a half circle on 2 edges…to make it slightly more shapely, I then deepen the indent at the top just a little and slightly curve the point at the bottom, curving the bottom or just snipping of the very tip of the point will prevent the point poking through the fabric when you cover it.

Trace the heart onto template plastic or any stiff plastic.

How to Draw a HeartCutting template plastic

Gather around edge

I Draw the finished size of the heart onto the back of the crazy piece and Run a gathering thread around the edge, Use a big knot and start at the top of the heart…clip into the V at the top.

Layer a finished size piece of batting the the platic heart shape in the centre of the crazy piece and pull gathering to back of plastic…

Lash the back from side to side with the thread until the fabric heart is firm over the plastic.

batting and plasticLash the back of the heart

Stitch lace around the edge and add a ribbon (mine is long enough to hang over the arm and hang down.

Stitch lace around the edge

Cut the plastic template and batting for the back just a tiny bit smaller then the front and cover with fabric…I also cut a smaller piece of batting to put between the front and back to compensate for the thicknes of the gathered fabric around the edges.

make a back for the heart

Ladder Stitch the two halves together by alternating stitches through the fold at the edge of the back…

ladder stitch step one

With small stitches through the fold at the edge of the front.

ladder stitch step two

thumbnail for make my day awardMake My Day Award Update…I would like to thank the following blogs for also tagging me for the Make My Day Award, Thank you All

Rengin, Elizabeth, Susan, Marty, Julia.

Take it Further Challenge January – Week 1 report January 9th, 2008

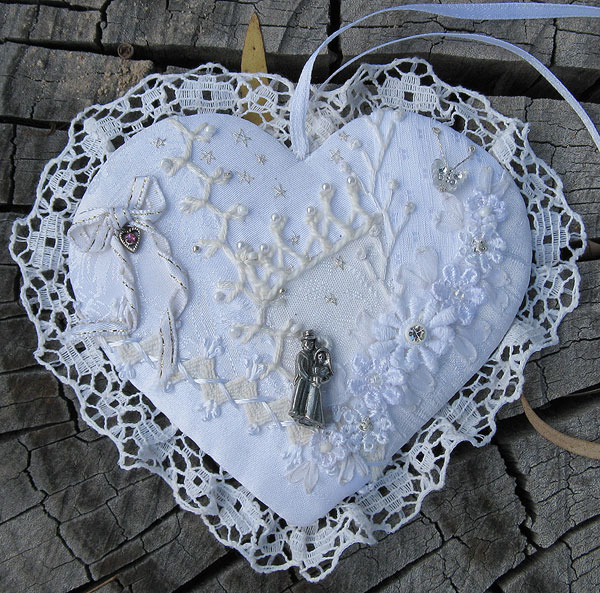
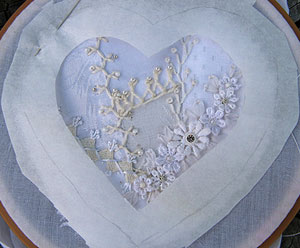
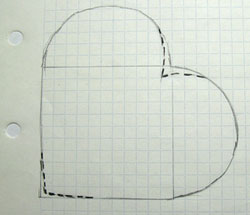
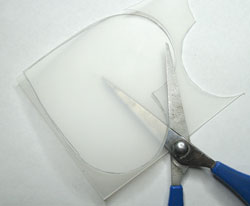
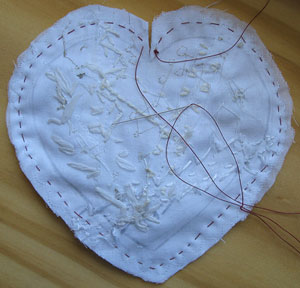
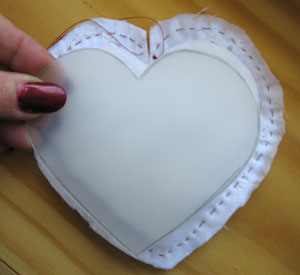
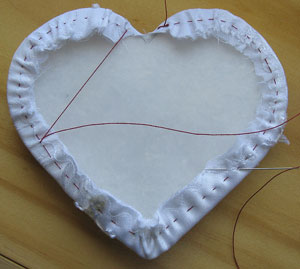
The “Take it Further” challenge as described by Sharon aims to apply textile technique skills to design.

The key concept for January is a feeling we have all had, the feeling of admiration for another. Ask yourself who do you look up to and admire? Why? What is it you admire about them? This is a the first Take it Further challenge in 2008. Take the idea, develop it into a resolved design during that month and apply it to fiber or paper.

My first reaction was where are the circles, squares, lines, the things that I had expected…There not there because they are the elements of design not the concept behind the design…I stitch with Sharon most weeks but she doesn’t tell me what is coming in the challenges, so it was not untill I read it on her blog that I realized just what I had signed up for, she laughed when I told her that the concept had taken me by surprise and that it had kicked me right out of my comfort zone…but then, checking the dictionary, being a difficult task is what makes it a challenge…

OK Challenge accepted…Where do I start?

I start with the Visual Journal…

Ok then…looking up…who do I look up to?…Who Do I Admire?

Take it Further Challenge #1
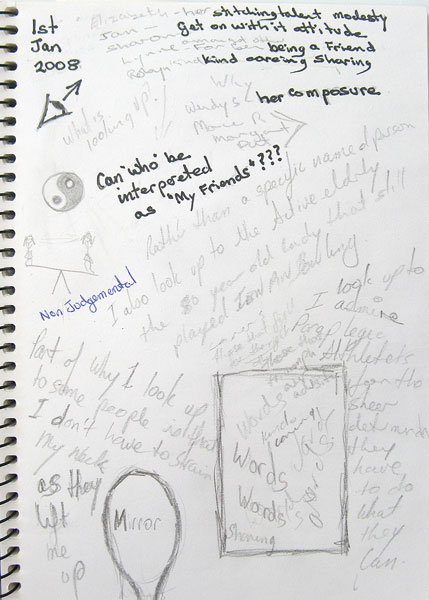
I find my self writing a list of Friends and what I admire in them…

I Stop listing when I realize there are to many to pick just one…

I start listing people in the wider world but again I don’t come up with just one name but rather groups of people such as Paraplegic Athletes for the sheer determination they have to do what they can…

I go back to the friends…For now I will let ‘the Who’ be my friends…

OK then, why do I admire them? What is it I admire???

I admire people who use there talents and skills,
I admire people who get in and get on with the job,
I admire people who inspire others to greater hights and people who encourage others, supporting them pushing them up to greater hights.
I admire people who are kind, caring, shareing of themselves, people who are good friends in little ways, they remember your birthday, they send you a card just to say hallo, I am thinking of you, they listen to you when your down and rejoice with you when things go well…

I drew the ying yang symble because my friends are people who balance me…

Then I wrote ‘part of why I look up to some people is that I don’t have to strain my neck as they lift me up’…it is clumsily expressed but important…they are people who are to be admired for their achievements and to me even more admired for their non judgmental modesty and their ability to see and bring out the skills and best qualities of others, so that when I am around them I am comfortable and have that feeling of being in balance…I am getting myself tied up in words so will leave it at that for now…

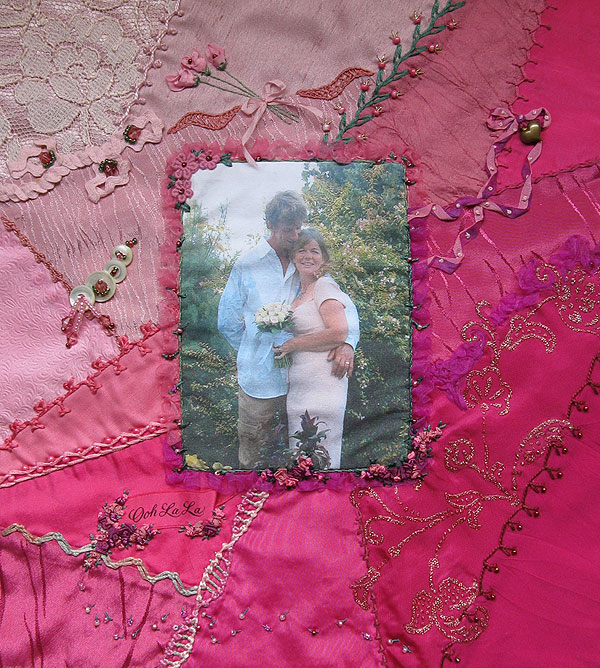
So is there a design in all this???… I suspect that words will be a part of the end design.

Headed off for the Shops January 8th, 2008

This morning I headed off for the shops, I needed to buy a scrapbooking Album for the Pink Block and I had a Bead Street voucher that sharon gave me for Christmas.

I think that I have a love/hate relationship with bead shops…I love them and I headed straight for the charms where I chose to the value of the voucher…I hate them, as the girl was processing the voucher I looked down and spied a container of Christmas charms on the counter, need I say more…I am normally very restrained when spending money, I can go without a lot of things and I hate bead shops because they are the ONLY shops where I can’t resist spending, I control this by just not entering them very often because I really do love them.

Charms from Bead Street

White Heart #2 – Details 476 to 479 January 7th, 2008

I have added a seam of Up and Down Buttonhole Stitch which I flipped from side to side and trimmed with white and silver beads.

A Seam with Ric Rac held on with Herringbone Stitch and trimmed with Pistil Stitch and Colonial Knots.

And a seam with a flower trail composed of lace flowers with bead centers and Silk ribbon leaves.

3 Seams on the white heart

White Hearts – Details 471 to 475 January 6th, 2008

I want to make a little something for a young friend who is getting married at the end of the month and I only have a few days because it has to be sent overseas…I remembered this little white heart that I made as a class sample in 1991 (including the lace edge it is 4 inches across)…

White Heart made 1991

…It will only take a couple of days to make and using the first one as a model I have pieced a new one…the first seam is a crested chain stitch, with alternating stitch lengths and a pearl at the end of each stitch….I don’t normally work in a hoop but because this is a small piece I thought I would try using a hoop, I ams till decideing wether I like the hoop or not.

White Heart #2 started

Make My Day Award January 5th, 2008

Make My Day Award

Thank you Sharon B for Tagging me for the Make My Day Award, you make my day too.

The awards rules are to“Give the award to up to 10 people whose blogs bring you happiness and inspiration and make you feel so happy about blogland! Let them know by posting a comment on their blog so that they can pass it on. Beware! You may get the award several times! :-)”

Here is my List of Blogs that make me smile and Make My Day. May they make your day too.

Quiter Moments

Crazy Quilting For Fun

Chole’s Place

Textiles in Time

Karen South’s crazy Quilting world

CrazyQStitcher

Wind from the East

Camille’s Place

Washing a Crazy Quilt Block – Changes to Detail 434 January 4th, 2008

changes to detail 434

The last time you saw this seam it had 4 of the pink herringbone shapes, I didn’t like it and couldn’t think of what I could add that would make me like it, what to do? I decided to unpick the last 2 shapes I had added but that didn’t help me immediatly because I had marked the top shape on the front of the fabric with a pencil and an eraser didn’t work to remove it…

Ironing block face down on a thick towel
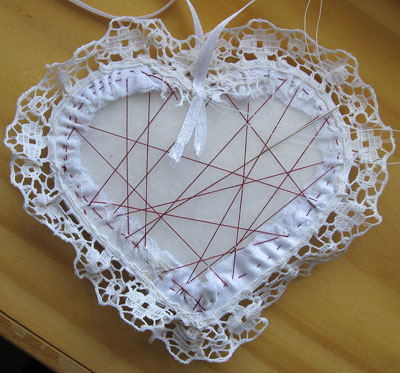
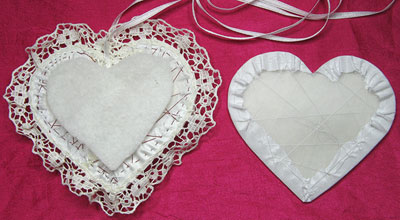
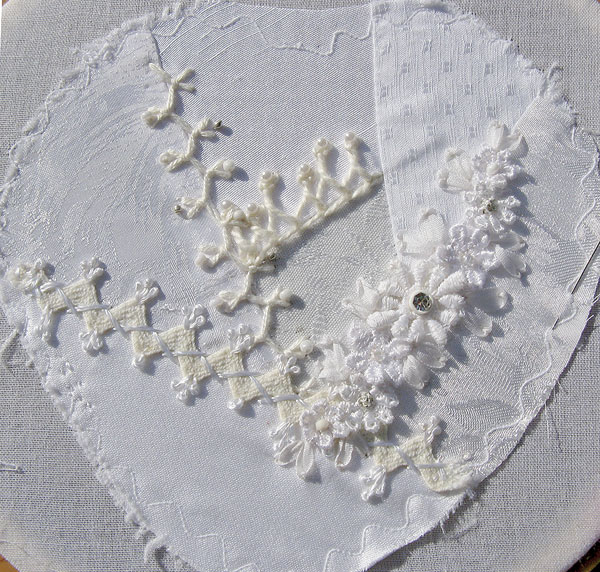
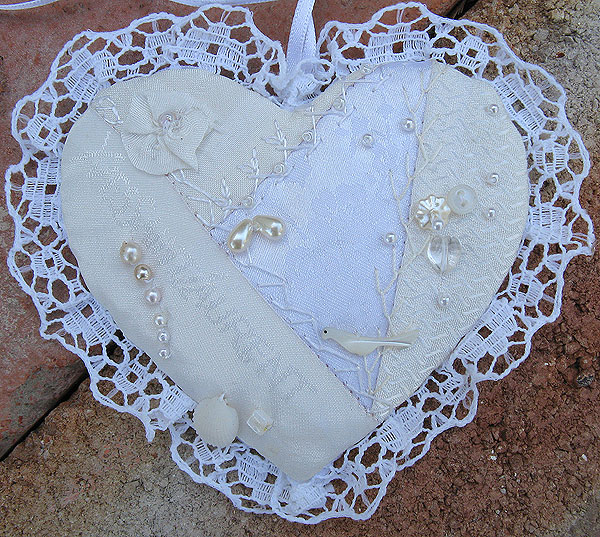
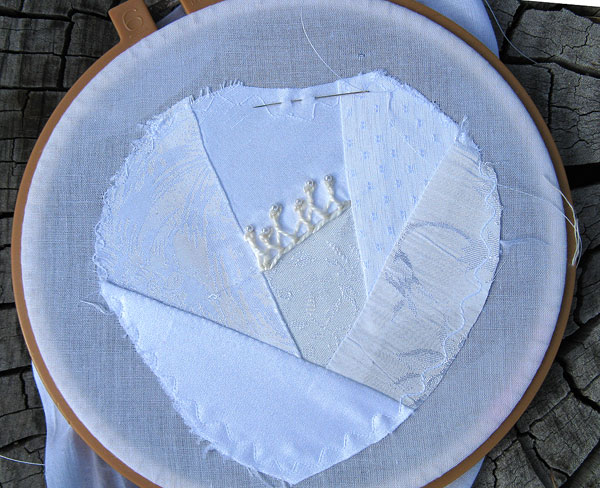
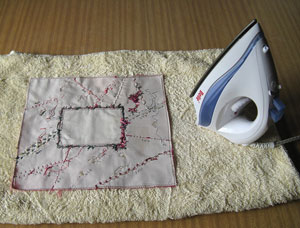
…more thinking time but I was at a complete loss as to what I could do to cover it and had almost decided to restitch it…more procrastination because I didn’t want to restitch it, what to do? Take the plunge and wash the block I always hesitate before washing a block but sometimes it has to be done, I massaged a small amount of dishwashing detergent into the marked area, rinsed the block thoughly, layed it flat to dry and placed it face down on a fluffy towel (the embellishments don’t get squashed because they are cushioned by the towel) and ironed it on the back.

This time I covered the center part of the seam with a soft pink bow and used 3 Stem Stitched Stems to lead the eye off center to the 3 pink Silk Ribbon Flowers, To make the flowers I used about 2 inches of 7 mm wide silk ribbon, I folded the ends to the middle, loosly rolled the ribblon and pushed and pulled it into shape as I stitched it on, tiny green detached chain stitches neaten the bottom of the flower and a dark bead gives detail to the top.

Umm despite the problem and delay of having to wash the block I am glad that I unpicked because I am happy now and the finished block is below.

The Pink Block Finished

Box Top – Detail 470 January 3rd, 2008

I have pulled my Box Top out again…A good thing about not working on a project for a long time is that when you come back to it you have fresh ideas and see it through different eyes…

when I was last working on the box top I had a long seam that I wasn’t having any ideas for, I had put a black and gold ric rac along the whole seam but didn’t like it, when I got the box top out again today I immediatly saw what I could do to break the seam up, I unpicked one end of the ric rac and looped it back on itself similar to what I did for detail 424 and sprinkled a scattering of beads along it.

Ric Rac and beads

Detail 469 January 2nd, 2008

Ruched Silk Ribbon with Beads

This seam is a rushed Silk Ribbon with beads scattered amongst it’s gathers…

This is the last seam treatment on this stocking, just a few embellishments and the trim across the top to do but they are going to have to wait because I have had enough of christmas for now and am going to pack the christmas things away till December…

progress on Christmas Stocking #16