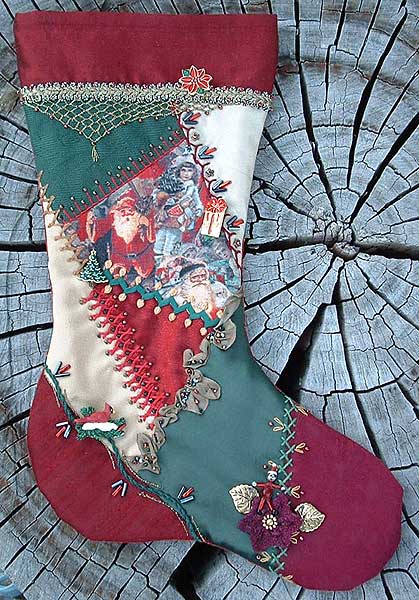
 To Make the Christmas Stocking To Make the Christmas Stocking
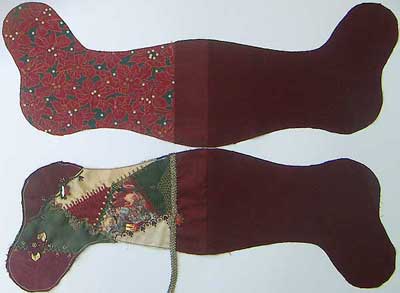
Cut out a back the same size as the front and put a matching band on it.
Cut out 2 linings…(Optional….I cut the linings 1/2 inch shorter at the top so that when the lining is pushed into the stocking the outside rolls 1/4 inch to the inside, which creates a neat top as there is no chance of the lining showing.)
Using a 1/4 inch seam, sew the front to the front lining and the back to the back lining as per illustration.
Iron the seams towards the outside ends.
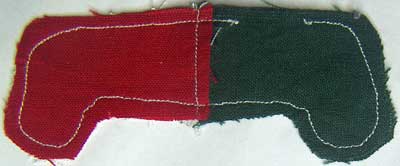
Place front/lining unit right sides together with the back/lining unit, matching the joins…Stitch together using a 1/4 inch seam, leaving a gap in the straight section of the lining.
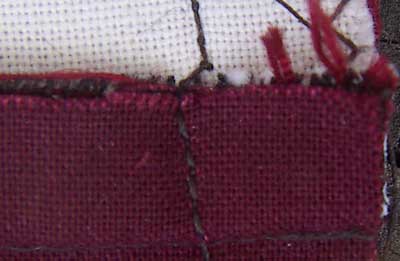
And this is one I prepared earlier (the miniature sewn with contrasting threads shows the stitching line better than the photo I took of the real one)
Another Optional refinement…At the fold line of the outside and lining, (which is at the edge of the seam if you have cut lining shorter or on the seam if you have cut the lining the same size as the outsides) increase the seam allowance by about 1/16th of an inch, this makes the lining slightly smaller so that it fits inside better.
Clip curves on the outside pieces (it is not necessary to clip the curves of the lining).
Turn stocking right side out through the gap in the lining.
Before slip stitching the Gap Closed I stitched the Braid across the back of the stocking top…I wasn’t going to bead the back section of the braid but it did look a bit bland…and is beaded.
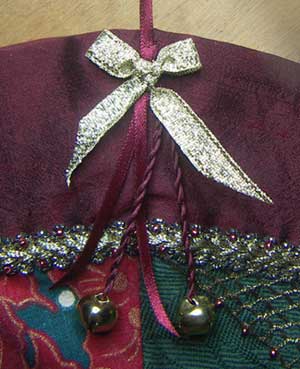 For the Hanger I like to use about a 12 inch length of satin ribbon so that I get a long hanger that is easy to slip over whatever it is to hang from… For the Hanger I like to use about a 12 inch length of satin ribbon so that I get a long hanger that is easy to slip over whatever it is to hang from…
The bells are hung with Twisted Ribbon, for which you can use silk or satin ribbon or thick threads.
I Finished the top with a bow tied with a metalic gold ribbon.
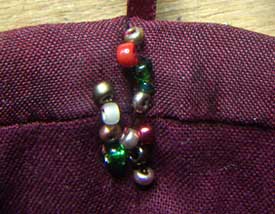
A TIP…When stitching the Hanger and Trim on, thread on a bead each time the needle is at the back of the fabric…This turns the potential mess at the back into a sparkling secret.
Add your name and the date and your stocking is finished.
|


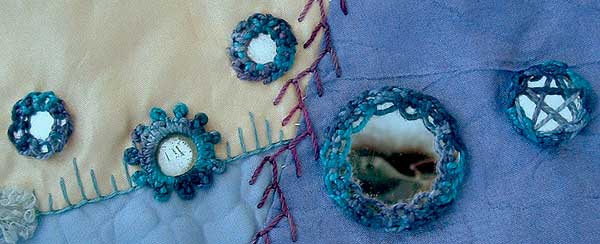
 …Shisha ideas and started experimenting with adding beads.
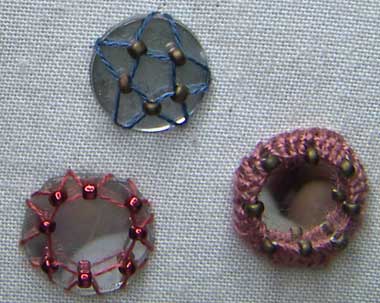
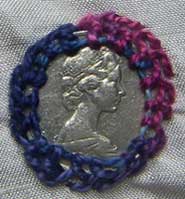
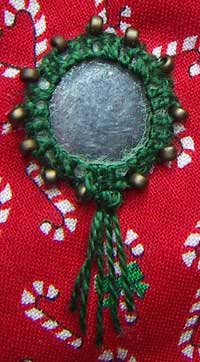
 This shisha is a 1/2 inch square mirror…to attach it I came up at the middle of the bottom edge, down at the middle of the left edge, up middle of top edge, down middle of the right edge, that gave me 2 diagonal lines across the corners of the square…from there I finished the square and kept working around the mirror with straight stitches till I got to the corners which I finished with colonial knots…At the bottom I made a tassal from a few straight stitches.
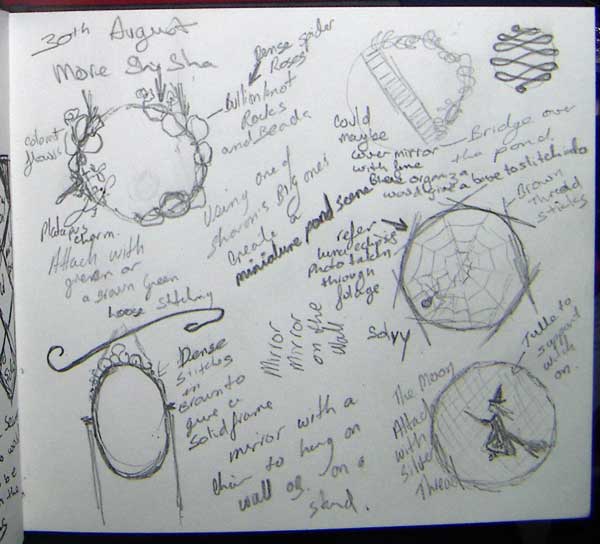
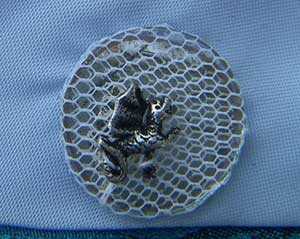 When I got to the witch flying in front of the moon, the problem was How do I attach a charm to the shisha…I would need to have something to stitch it to, something that wouldn’t block the mirror, something like the fine net that some laces are made on…Tulle would be worth an experiment…I have used a miniature dragon because I didn’t have a witch charm and it worked, I had a solution…
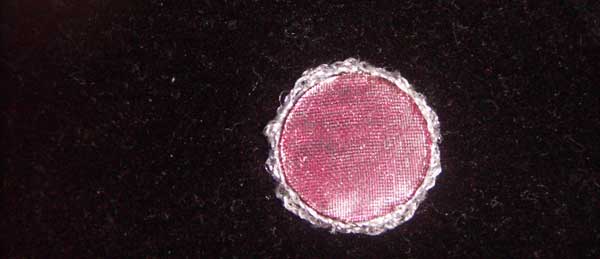
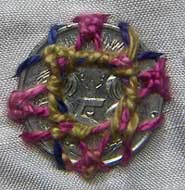
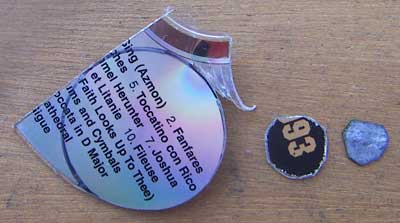
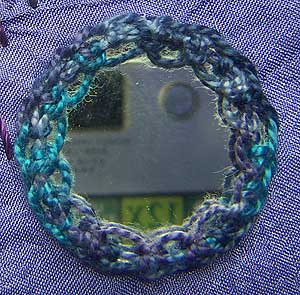 The 4th shisha is a 1.25 inch diameter mirror that
 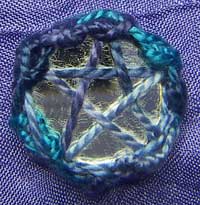 I anchored the last shisha with a
 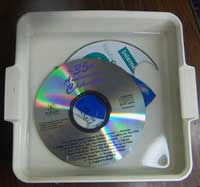 Draw the shape you want to cut with a permanent ink pen and
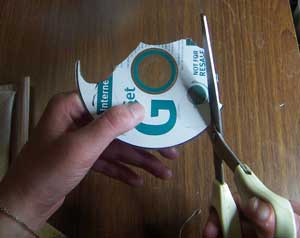
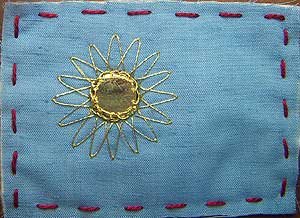 I have stitched a golden Shisha Sun to Celebrate that today is the first day of spring.
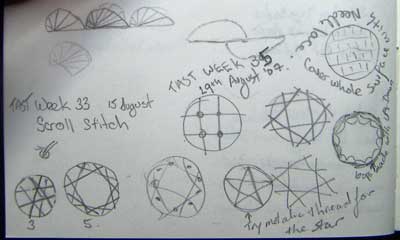 Shisha stitch and Sharon has illustrated a different method than the one I knew so the first thing to do was to try