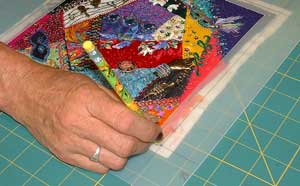
Blocks for group quilts are inevitably different sizes and this one is no exception…the different sized blocks are more of a problem with traditional patchwork blocks, which have points that may need to be cut off, than what it is with CQ blocks and actually this lot or pretty good with only small variations in size of the embellished area, together with 1/2 inch seam allowances to play with my job easy.
In Their blogs today Linda described me as “(Genius and Goddess of Quilting)” and Sharon described me as “an expert assembler – with a passion for getting such things just right”…what they mean is that I will measure everything to the nth degree and that my corners will meet perfectly, even though they will be covered by the buttons that will hold the quilt layers together, other people would describe me as anal retentive LOL but when you know “how” it is really not difficult to get such things just right…
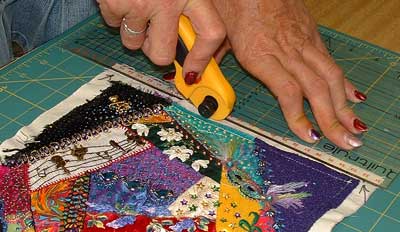
Note: I use a rotary cutter and board, if you don’t have this equipment you can follow along using your table where my board is and mark your fabric with a ruler and pencil, then use scissors to cut along the marked line.
Before starting
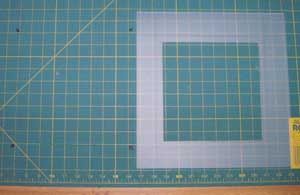
I marked a 9 inch square on my cutting board with black arrows. this can be done with a piece of masking tape if you don’t want to draw on your cutting board.
I made a plastic window template with the 8 inch finished size cut out and the 1/2 inch seam allowance lines marked onto it.
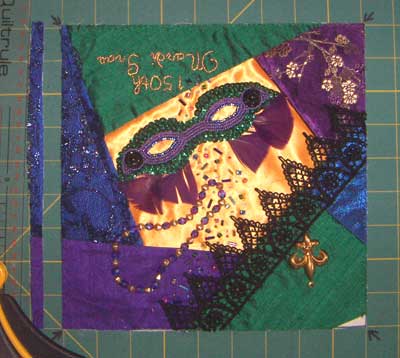
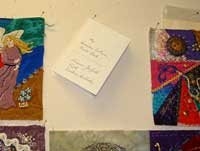
I pinned the block information to the pin board so that I could work with the blocks, you can see the contents of this one on Vivienne’s blog
Preparing Blocks
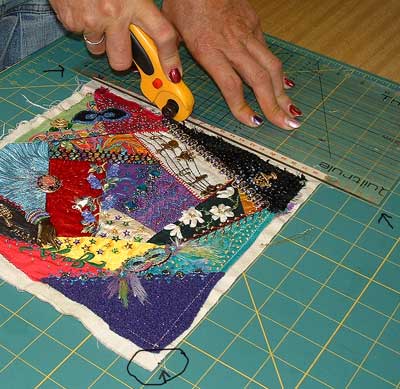
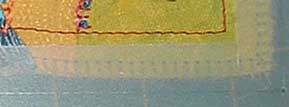
The First thing that I did with each block was to put the window template over it…
I could see at a glance wether the block was under or over size.
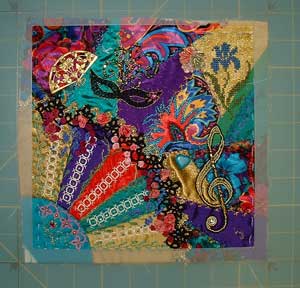
I could see where the maker intended the edge of the finished block to be.
And I could see any stitching that would need removeing from the finished size of the block.
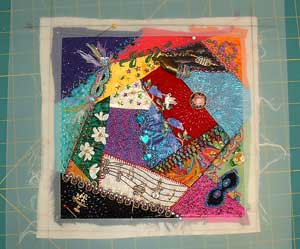
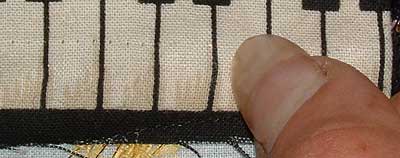
The next thing that I did was to remove any stitching that would be visible on the finished size…
…and yes that does leave holes in the fabric, it marks some fabrics more than others and is easier to get out of some than what it is others…hint longer stitch lengths leave less marks (and are easier to pull out) and hand basting is much easier to remove and leaves far fewer marks on the fabric…
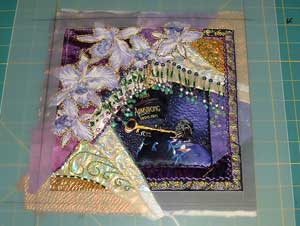
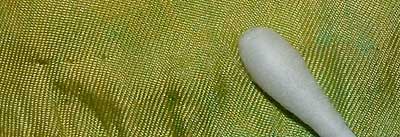
A gentle massage with your thumbnail or between your fingers will remove the holes from most fabrics.
For the more stuborn holes I used a damp cotton bud….hint do a test in the seam allowance to make sure that the water is not going to mark the fabric.
Most blocks had enough extra seam allowance that I could eyeball the first cut but some blocks, whilst their foundation was full size the patches only had 1/4 inch seams so there was no room for error, on those blocks small holes in the template, at the corners of the cutting lines, allowed me to mark the corners to make the first cut.
Blogging this is taking me longer than it is to make the quilt lol and it is again time for me to get some sleep…so watch this space dear friends for Part 2 How to trim blocks to size.
|