I am now ready to start cutting…When trimming traditional quilt blocks to size the ruler or template is placed on top of the block…Doesn’t work for crazy quilted blocks, the embellishments destabalize the ruler makeing it impossible to get a clean accurate cut…The Trick is to trim the blocks from the edge, that is where the 9″ square marked with arrows on my cutting board come into play…
Warning: Trimming the blocks from the edge does mean that if you slip with the cutter it will cut into your block as well as possible injury to yourself…So Please do be carfull with your cutters, use a sharp blade so that you don’t have to push hard and force it through the fabric; Hold your ruler with a firm downward pressure; Don’t be tempted to cut at awkward angles, it may save a few seconds at the time but the risk of injury to self and block are substantially increased, it also makes it harder to line up the ruler and see the line to be cut, much easier to Always spin the block so that you Always cut away from your body.
The first cut…
If the corner points have been marked through the hole in the template than the 1st cut is made where the ruler lines up with 2 of the marked spots.
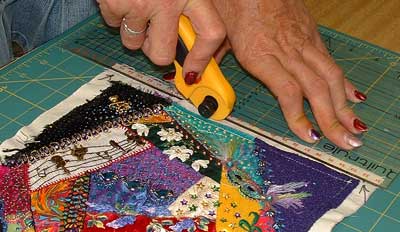
Otherwise position the block in the marked square on your board, eyeballing its position and making sure that the block is meeting or covering all edges and corners…place the ruler so that it is lined up with the cutting boards grid lines that you can see above and below the block, the fabric under the ruler is what will be cut off.

For the second cut spin the block and line up the first cut edge with one edge of the 9″ square marked by the arrows… place the ruler on the second edge again lining it up with the cutting boards grid lines that you can see above and below the block.
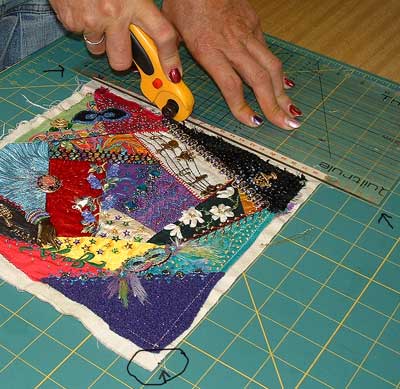
repeat for remaining edges which should leave you with a 9″ square block and because all the blocks are measured from the same marked square than all blocks should be of equal size…
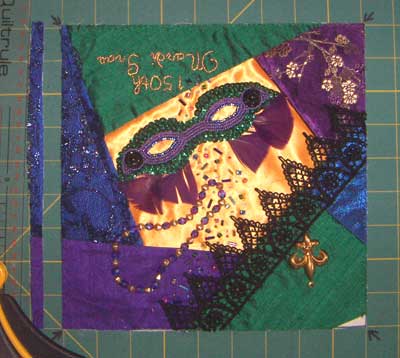
that is unless some of the blocks are under size…Linda noticed from the photo that her block was not the full 9 inches and that she wasn’t square (see comments) but her Eeeeek will fade away when she sees how easily I can make her into the full 9” square…So watch this space for Part 3 – “how” to make Linda into a square….
Leave a Reply
|


February 4th, 2006 at 5:32 pm
Nice nail polish!!!!