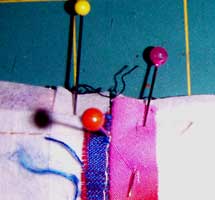
To align the seam intersections on blocks that have the seams ironed open, spear a pin through the seam of both blocks and while that pin is holding the seams together put pins either side of it, after the intersections are pinned in place, pin the end rest of the seam and when stitching the seam stitch as close to the pin before the intersection as you can so that it has the least space to slip out of alighnment (Note Don’t stress over getting perfect joins because whilst I aim for perfect alignment of seams at the corners they are not necessary on crazy quilts because the joins will be covered by buttons and never be seen anyway).
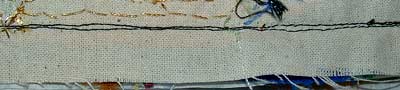
As I said I ironed the seams of Catherine’s block to one side, I also ironed the rest of the seams on the quilt to one side because as well as the odd bead deflecting your stitching off line, as the units you are stitching get bigger they get heavier and the weight can pull the work off line…If the miss stitching goes into the finished area of the block or the raw edges get pulled out of alignment then it needs to be unpicked but if the raw edges are still together and the miss stitching is within the seam allowance then it is OK to oversew the seam on the correct line, leaving the miss stitching in the seam allowance, it just means that the seams need to be ironed to one side because it won’t iron open.
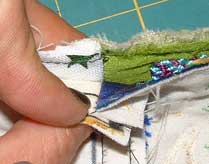
To align seams that are ironed to one side the seams need to be facing in opposite directions.
Butt the joins together and pin…Joins where the top seam points towards the sewing machine are the easiest to get perfect because the seams lock into each other conteracting the effect of the machines foot dragging the top layer.
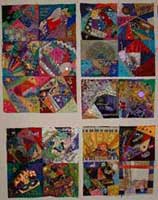
When you have joined as many pairs as you can continue joining smaller units into bigger units….Five…Four….Three…
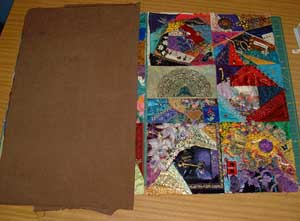
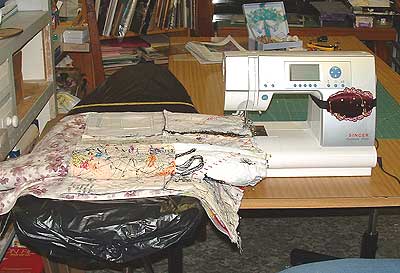
As the units get bigger, as well as getting heavier, they take longer to stitch and clank around more as you manipulate them through the machine…to protect the embellishments I spread a piece of old sheet between the layers to prevent the embellishments clanking and catching on each other.
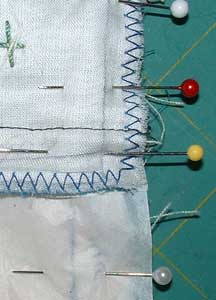
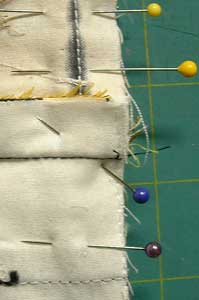
To counteract the increased chance of slipping as the quilt gets bigger and bulky, I use more pins as the seams get longer.

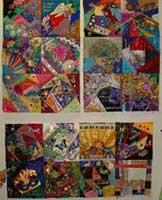
Two
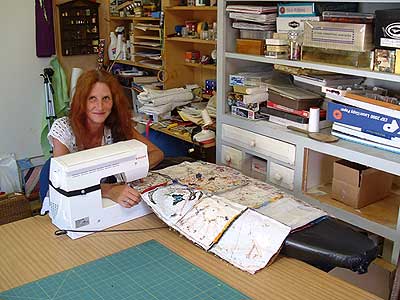
To support the weight of the quilt when stitching the last seam I covered the ironing board with plastic to make it slippery, put it beside the sewing machine which I had moved to the corner of the table and adjusted the height to be level with the bed of the sewing machine…
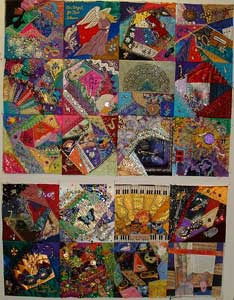
ONE………for one you will have to wait till I have stitched that last seam…in my next post, Part 6 – Borders to Frame All that Jazz, I will show you the borders we have chosen and how to stitch them on.
|