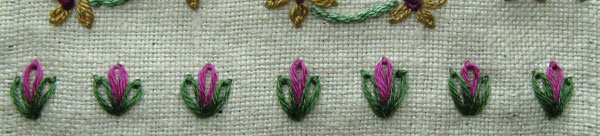
Detached Chain Stitch with 3 strands Cotton Floss.
|
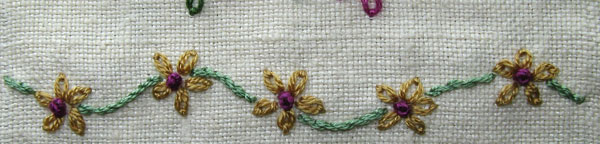
The Lazy Daisies and the green vine are 2 strands silk floss.
|
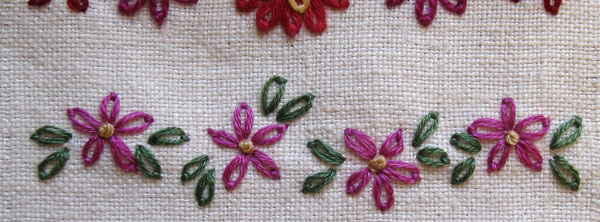
Lazy Daisies randomly scattered along a seam always look lovely…3 strands cotton floss
|
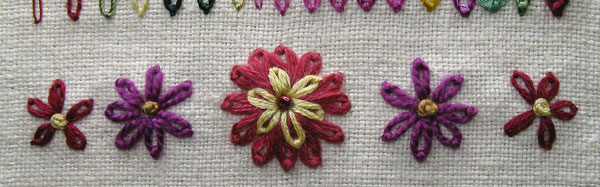
The centre flower ( 3 strands cotton floss) is from Sharon’s samples the others are 7 petal (size 5 cotton pearl) and 5 petal (3 strands cotton floss) Lazy Daisies as seen on many an old doily.
|
Today I have moved onto the next stitch, Take a stitch Tuesday Week 3 which was Detached Chain Stitch….All stitches look different when stitched with different threads and I have always found the look of Detached Chain to be very varied when done with different threads, to illustrate this I have done a line of short and a line of long detached chain stitches worked in a variety of threads.
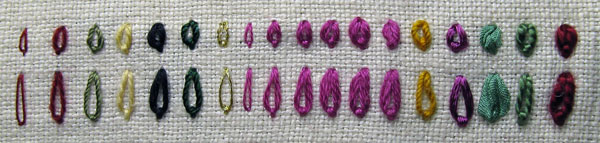
From left to right the threads are…red silk, maroon wool, green Silk buttonhole twist, yellow Linen, Black Cotton Broder, green Rayon, Gold Metalic, 1 strand, 2 strands, 3 strands, 4 strands, 5 strands and 6 strands of cotton floss, Cotton, Ribbon Floss, silk Ribbon, size 5 cotton pearl, size 3 cotton pearl.
|
Today is Canberra Day…A little history, The site to build Australias Capital city was chosen in 1908 and was named Canberra in 1913 making today our 95th year as a city.
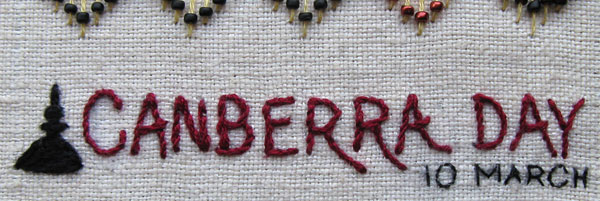
At the start of the seam I have done a stylized Black Mountain Tower, it is a telecommunications tower built in the late 1970s and a significant Canberra Landmark…I have stitched the tower with wool thread because the site of Canberra was sheep farms before the city was built…
The words are stem stitch done with 2 strands of cotton floss.
|
Another buzy day, including such dreaded jobs as defrosting and cleaning out the fridge but all the work has been worth it because the house looks good and even feels a little organized…My son arrived this evening and it has been lovely to see him.

I have used this idea before with straight stitches but it works just as well with buttonhole stitch…I have used a fine thread (2 strands cotton floss) so that I could use a small enough needle to fit throught the beads which are threaded on as you work the buttonhole stitch…As I worked the seam the black beads were looking a bit flat so I added the red beads to give the seam a little zing…The beads move along the stitches and are fun to play with.
|
I am feeling better today, much better, much, much better….With help from my sister we have got most of my to do list, done And managed to get a couple of rows of stitching done ( I stayed in bed and stitched while listening to the garden show on the radio.
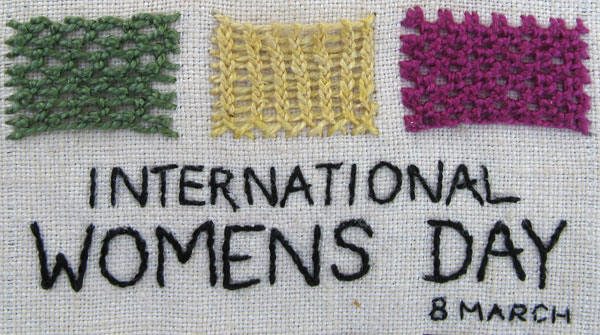
On the top row I have added 2 more buttonhole stitch fill patterns for needlelace both done with size 5 cotton pearl thread.
And on the bottom row I celebrate International Womens Day, the first International Womens Day I can remember was about 1976 and I associate it with my mother who was visiting me in Canberra at the time, somewhere I still have some posters from the days events…I wrote the words on the fabric with a 2B pencil and stem stitched over the pencil line with 2 strands of cotton floss.
|
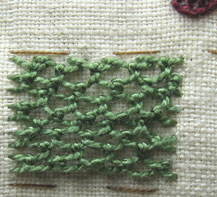 Many Needle lace fill patterns are done with buttonholes stitch, tonights sample is rows of buttonhole stitch, each worked into the previous row. Many Needle lace fill patterns are done with buttonholes stitch, tonights sample is rows of buttonhole stitch, each worked into the previous row.
|
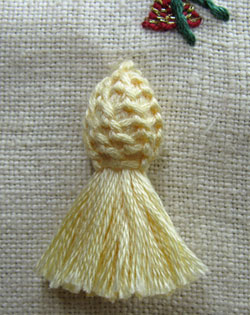 Buttonhole Stitch can be used to make a cover for the top of Tassels… Buttonhole Stitch can be used to make a cover for the top of Tassels…
To make a Tassel wrap thread around a piece of cardboard a little longer (to allow for trimming) than you want the finished tassel to be…poke a length of thread between the cardboard and wrapped threads and tie the bundle at one end, slip the bundle off the cardboard.
I poked a small ball of batting between the threads at the top to give shape to the top of my tassel.
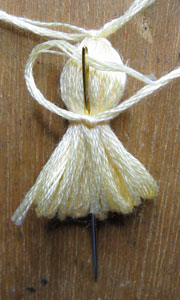
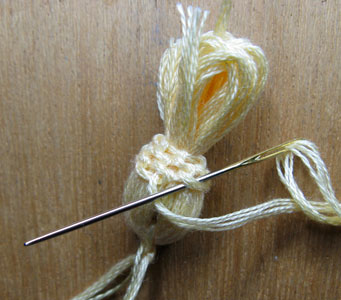
Cut a length of thread about 20 inches long (needs to be long enough to work the buttonhole stitch) and tie one end around the top of the tassel…use a tapestry needle to thread the short end down into the tassel and with the long end buttonhole stitch onto the thread around the tassel and then continue to work into the last row of stitching until top is covered, with the last couple of rows work into every second stitch of the previous row to shape the cover.
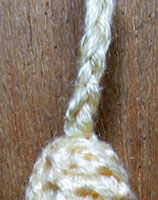
Form a cord by plaiting the 3 threads that are at the top of the tassel.
Cut and trim the threads at the bottom of the tassel.
|


