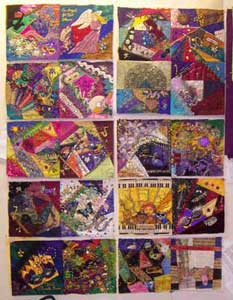
To join the blocks into pairs lay them side by side to check that they are right way up… As I trimmed each block I printed out the block and artists statement from the All that Jazz Gallery so that I could get a full appreciation of each block while I was lucky enough to have them in my hands, I have also attached all the info and extra beads that came with the blocks to the print outs. I also used them to check that I had the blocks right way up, on most of the blocks the top was obvious but it wasn’t until I checked with the photos from the gallery that I realized that until then I had Catherines block on its side…yep it is worth checking…you will also be checking that you will be stitching the correct edges.
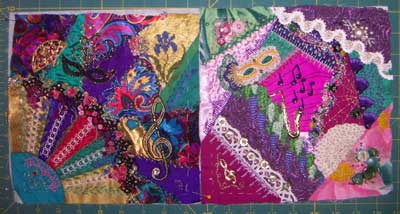
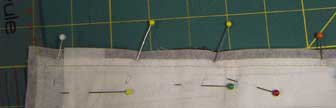
Place one block face down on the other, match up the raw edges (or paper edge) and pin the seam…Pin the corners first and then use as many pins as necessary along the seam.
And how many pins are necessary?…
Well if there is no slippery fabrics and no bulky embroidery beads or embellishments within 1/2 inch of the seam then you may only need 1 or 2 pins.
If the blocks have slippery fabrics then you will need a few more…Velvet is the worst, I resorted to stitching the velvet section of one seam by hand but found on another block that putting a few extra pins, where I could leave them in place whilst stitching the seam, prevented the velvet from slipping.
If there are bulky embellishments near the seam extra pins will help prevent the seam slipping because of them…
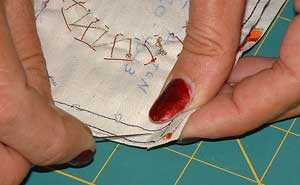
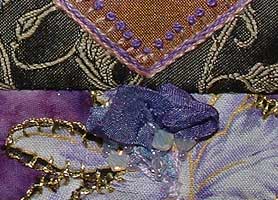
Some embellishments are to bulky to stitch over…These can be marked with a pin on either side, then when stitcing the seam stitch as far as you can without forcing the fabric, stop and restart on the other side of the embellishment.
Hand stitch the gap in the seam.
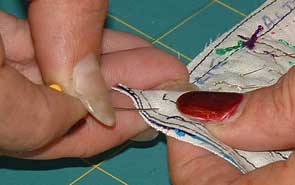
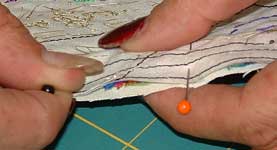
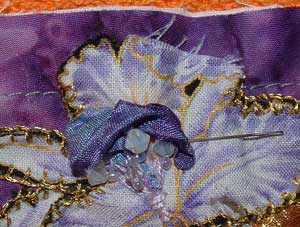
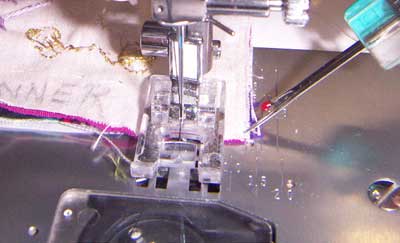
Some embellishments I pin out of the way (or in this case needled because the needle is finer and less likely to damage the ribbon than a pin) before stitching the seam so as not to risk catching them in the stithing.
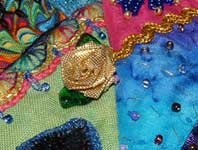
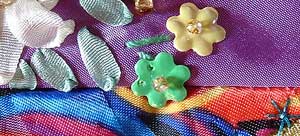
I had to rescue this poor little flower after I had stitched it into the seam, fortunaly I have a replacement flower in the bag of beads that Sharon gave me for christmas.
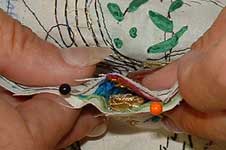
I used the zipper fit when stitching Catherine’s block which was heavily embellished with beads and charms to the very edge…
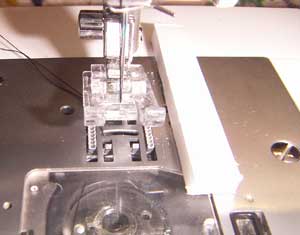
The Sewing Machine…
Thread the sewing machine with light coloured thread if most of the fabrics in the quilt are light or with a dark thread if most of the fabrics in the quilt are dark…I have used black thread.
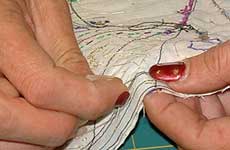
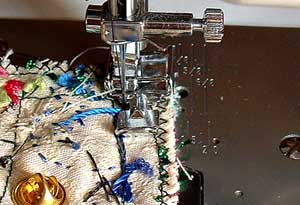
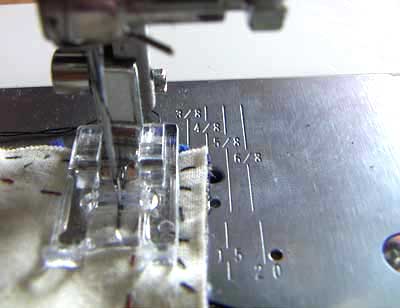
Stitch the seam by guiding the raw edges along the 1/2″ mark on the sewing machine…If you have trouble seeing the line you can mark it with a piece of tape (note masking tape works better then the medical tape I have used to demonstrate because I couldn’t find the masking tape)…If you have trouble guiding the edges along the line try using a commercial magnetic seam guide or a piece of sticky foam core board or something else that will give you a ridge to guide the fabric.
 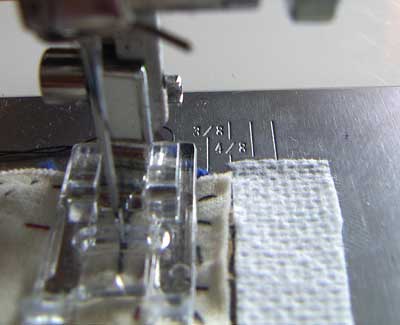 
Don’t be tempted to rush the end of the seam, it usually results in a slightly smaller seam allowance at that end which can distort the finished size of the block…to aviod that happening keep the raw edges on the guide line until the very end of the seam.
I ironed the seams open to distribute the bulk of the fabrics…When ironing the seams on my own work I iron with a flat iron…When ironing other peoples work I use just the tip of the iron and I use a piece of paper under the iron to further protect the fabrics.
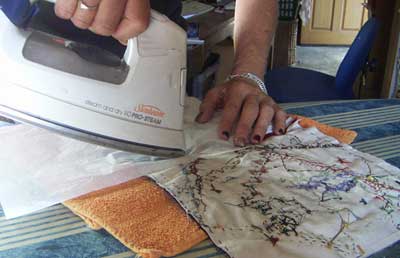
Well I ironed the seams open until I got to Catherine’s block where I ironed the seams away from her block because that balances the weight of her block better.
Time for me to go and stitch the next few seems and take the photos that will show you how to Join Pairs of Blocks Together into bigger units that will join to make the quilt top…
So Stay tuned for Part 5 – Joining Pairs of Blocks Together.
Side story – How hot was it?
You will have noticed that the colour in the photos vary greatly, the variation is due to the different times of the day that I have taken them, different light on different days (today there was an orange tinge to the air from fires that are burning over the border) and 2 different cameras because yesturday after taking yet another photo to illustrate a point I got a Card Error message…I was just glad that there was only one photo lost and that I have a spare digital camera so I could keep working…Today I tried it again and the card is working, it is a coller day today and I think my dear camera had heat strock yesturday…it was that HOT.
Leave a Reply
|


February 7th, 2006 at 1:16 pm
Annie, this is great!!! Love your method of marking the cutting board with the square for accuracy.
Also, I was tickled pink to see my block being sewn together with its neighbor…and that you were able to pin the ribbon flower out of the way when you sewed the seam…that was just what I was hoping for, and I am glad it worked!
March 15th, 2006 at 7:31 pm
After seeing your website I had a excellent knowledge of the embriodery desinging and quilting.
Thank you very much for giving such a excellent website persons like us.
Thank you