Last week we (being Sharon and I) decided not to put buttons over the corners of the blocks but that meant that I wouldn’t have anything to hide the tail of the thread under, when finishing the thread it is easy enough to run the end of the thread under the fabric but what to do with the tail of the knot when starting, the knot can be popped through some fabrics but I didn’t want to risk pulling a thread on this backing fabric, the thread can be secured by a couple of tiny back stitches but that is difficult to do when trying to keep the quilt as flat as possible and as I was planning tiny stitches on the back even the bulk of those extra stitches could make the needle more difficult to push through the layers of fabric…
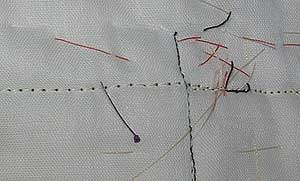
…When I got to the point of getting the quilt ready to tie the back on, I realized that the messy back solved the problem…I co opted my son to thread 30 needles (the number of corners) and knot the ends, I then threaded one up through each corner so that my tie threads where in place with there knots hidden on the messy back…This is the first time that I have used a hidden messy back but it has made putting the layers together securly just so much easier that I reckon I will always use one for future quilts.
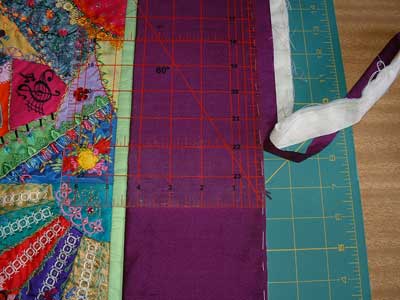
When I put the borders on cut them wider than they would finish so when I basted the edges I basted the edges in from the edges so that when I trimmed the border to width the layers would still be held together by the basting.
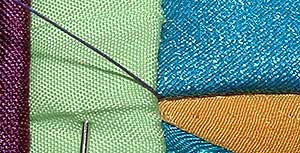
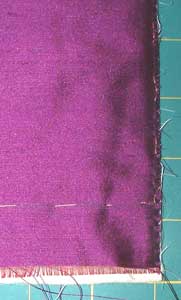
Even though the layers where basted together I zig zagged the edges, it is an optional step which I did because the silk frays and the zig zag stops the fray so that the edge stays neat the way I like it…I only did the sides and bottom at this stage (I will tell you later why I didn’t do the top edge at this stage).
Leave a Reply
|


