Originally Blogged 01 May 2005
That is 3 days to finish the crazy patchwork and Make the Dress……My sister came over today and checked my measurements so that I could draft the pattern for the skirt….Ooops when I had done the rough measurement for how long to make the foundation I located my hips about 4 inches below where it is, means losing the bottom of the crazy, I don’t want to do that…and don’t have to because we looked at the neck line decided that it really was to low and that I could shorten it a bit on the shoulders….After doing the adjustment I realized that I had misunderstood the original phone directions for making the neck line pattern and as it happened the difference that I was wrong by was 4 inches…Lucky for me that these 2 OOOpses that could have caused me problems actually canceled each other out.
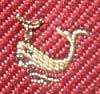
My friends all tease me about the detail that I add to my crazy quilts and then they turn around and encourage me…one dear friend, who is ringing me daily to check progress and hurry me on, did insist that a couple of the whales should have a water spout….Magnified it is an odd shaped spout but cute anyway…
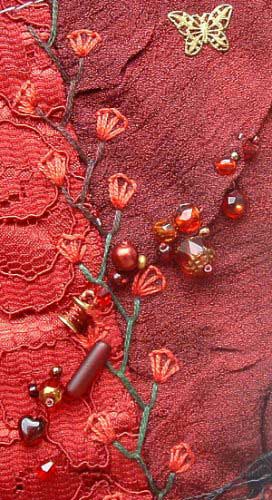
The last of the embellishments is a bead trail…When doing bead trails I start by making a mix of a variety of sizes shape in suitable colours and you can mix in buttons and charms…I tip the beads where I want the trail to be and move them around to find a nice line, when I do this in class the response from the class is always the same “that looks great” they say “but how do you stitch them in that arrangement”, my reply is “I don’t, they look great when I tip them out however they fall, the same beads will look great when you stitch them on” and I tip the beads back into a container… I then start stitching….I stitch the bigger beads along the line, the photo below is the charms and bigger beads for this trial… how close together I stitch them depends on wether I want a light trail or a heavy trail, this one is to be a light trail….Next I will add medium sized beads and then seed beads, I will photograph each stage so that you can see how the trail builds up.
The biggest bead in the middle is a beautiful bead that my son bought for me in England and I wrapped the red thread onto the tiny cotton reel charm, the thread helps it blend in and it looks reel cute with thread on it.
Amazing..the spell checker didn’t find a single miss spelt word tonight…that has never happened before…
|