I put a rod pocket on the back so that when All that Jazz is hung on a wall it will be supported across its full width…because crazy quilts are often heavy I like to put the rod pocket on so that it is incorporated with the binding to give it maximum strength.
I make the rod pocket so that I it finishes about 1″ from each side of the quilt, this is so that it won’t get caught up in the side bindings, it also makes space so that hooks on the wall for the rod can be hidden behind the quilt.
The other thing about rod pockets is that they need to be made with a pleat to accommodate the thickness of the rod, without the pleat the rod will cause the top of the quilt to bulge on the front.
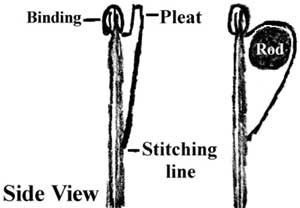
The strip of fabric for the rod pocket needs to be cut 1″ shorter than the width of the quilt by about 9″ (that is 3″ for the pocket + 1/2″ under binding + 1″ for the pleat and then doubled so that the pocket is lined.
Fold the strip right lengthwise and stitch a 1/4″ seam at each end…Turn right side out and iron.

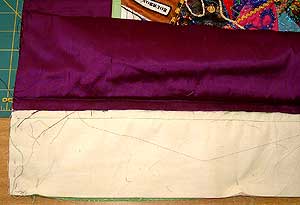
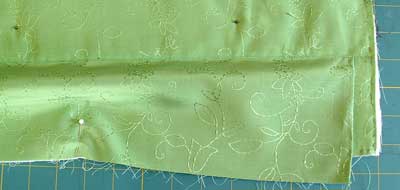
Before pinning the rod pocket to the quilt I folded the top border, back out of the way so that I could machine stitch through all the other layers and have the seam covered by the top border.
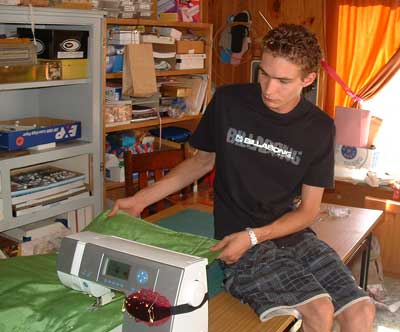
I positioned the rod pocket and stitched close to the fold…As I have mentioned when manourvering the whole quilt through the machine a Little help goes a long way, below is a photo of my not so little son, Sam, and how he sits behind the sewing machine he supports the weight and keeps the bulk of the quilt moveing along at the same speed as I am stitching which leaves me free to concentrate on stitching the seam straight.
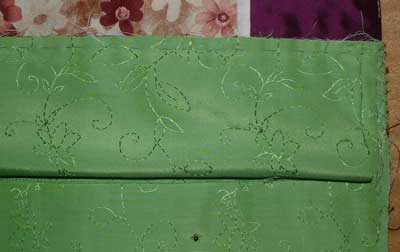
After stitching the rod pocket on I reposition the top border which covers the seam that I have just stitched.
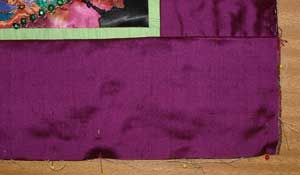
Pin the rod pocket to the top of the quilt.
Hand baste all the layers together, there are now a lot of layers on this edge and you need to take care that all the raw edges are well lined up so that you have a true straight edge to put he binding on.
Leave a Reply
|


February 23rd, 2006 at 1:19 am
The rod pocket with a pleat in it is a great idea! I’m soooo glad you are doing this, I am learning so much from it!