Now that I have got a gist of the concept, the next thing that I need to do is decide on the format that I am going to use…The main criteria for my format is that it be of a small size so that doing one per month is an achievable goal…another criteria is that I want to use the same format for all the designs so that I can display them together.
I am opting not to use crazy quilting for these designs, I think that on one hand, my experience would make it to easy, on the other hand the crazy quilting would take over and distract me from the designing and I think that crazy would restrict the variety of ideas that I could explore.
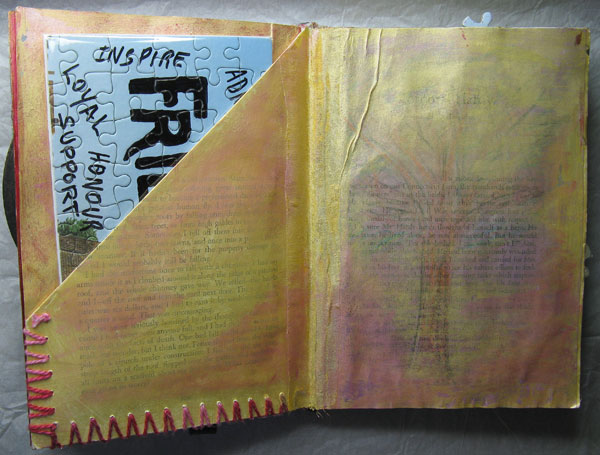
I considered doing Altered Book pages, they are small enough but again I think that the actual altered book techniques could distract me from the process of exploring the design.
My other option is to do Post Card sized pieces…Post Cards give me a blank canvas with no distrations…so Post cards it is…and the postcards will be stitched or tied together so that they hang one under the other or concentinaed into a book for storage.
At this stage I plan to use fabric collage techniques to interperet my Designs but will remain flexable and let my designs dictate what techniques I do use.
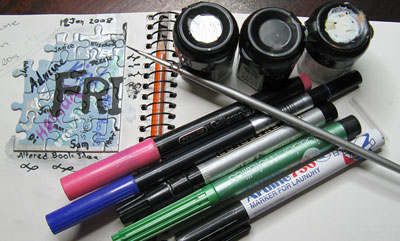
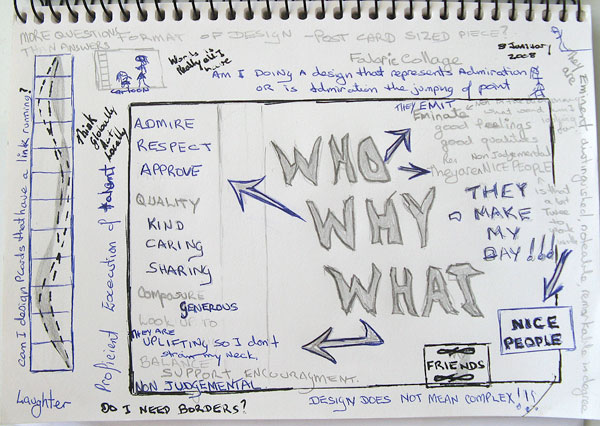
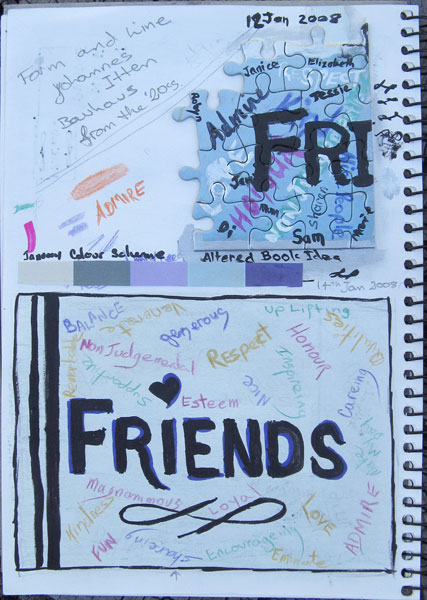
Back to My Visual Journal I drew around a post card and started writing words down the left hand side and in a larger font I wrote the words for the questions I was answering…
At this point I was trying to sus out what information I wanted to include as well as possabilities for layout…For the layout I am looking for an element that I can run through all the postcards that will link them together when displayed one under the other, as and example of what I mean see sketch on the left side of page, imagine my curved lines as quilting lines that I do as continues lines through the cards after I join them, The 2 parallel lines on the left side of the main card are another idea, without knowing what is to come in the future months it is hard to know what can be kept the same…more thought required on this one…
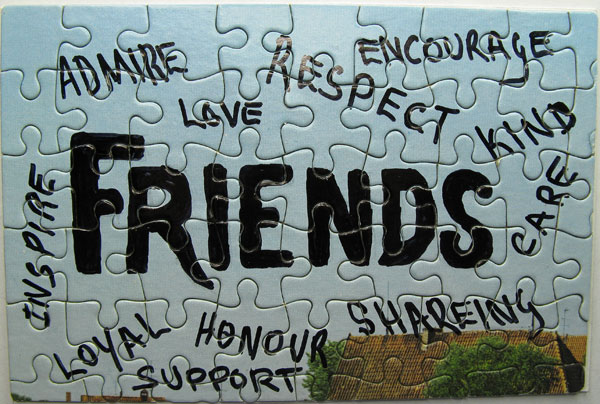
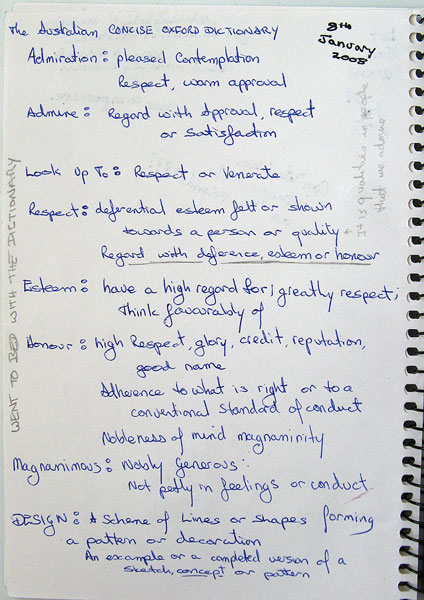
In the meantime I started to link the words that I had written with Arrows and then adding offshoot thoughts…sketching down the right hand side I started distilling the thoughts down till I got to the single important word being “Friends”…I then question does a single word constitute a design?….I haven’t answered that question yet but do remind myself that design does not mean complex!!!
I have had a bit of difficulty describing my thoughts that went into this visual journal page because I was jumping from one thing to another and back again, in the end I just wrote it as it came because the jumping around is how my brain works when I am exploring ideas…
 Make My Day Award Update…More Make My Day tags…Thank you fellow bloggers. Make My Day Award Update…More Make My Day tags…Thank you fellow bloggers.
Maureen and Ira
|


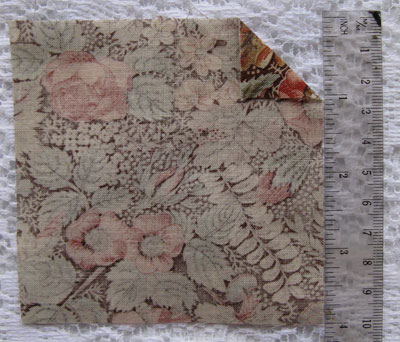

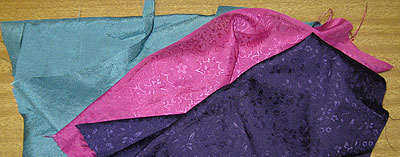 Tonight I went to a crazy quilters meeting and it was lovely to catch up with everyone after the christmas break….the fabrics on the right are from the grab bag, I don’t need anymore fabric but sometimes they just jump out of the bag into my hands.
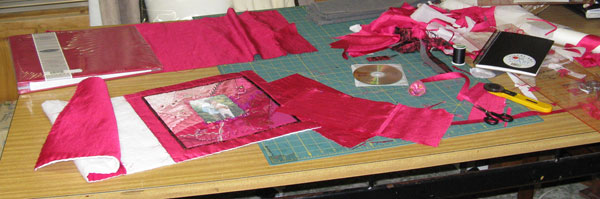
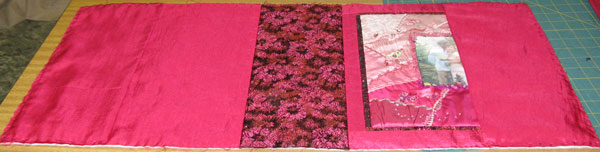
 I have now refined my Design…To Link my post cards I need something that I can blend into each design without it controling or distracting from the designs, I have decided on 2 black lines, one wider than the other, running down the left hand side.
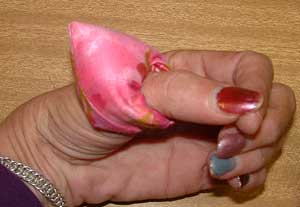
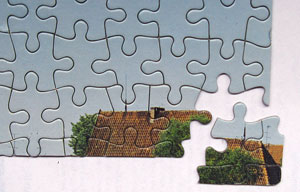 Time for some quick experiments…I have some jig saw puzzle pieces left over from an old puzzle