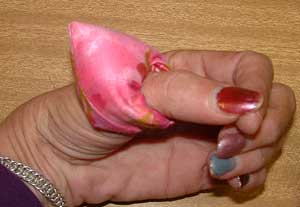
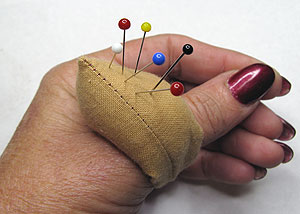
I made the pink thumb pin cushion at Nowra Crazy Quilt Retreat and have had a couple of requests for the pattern, today I have got around to writing the instructions… I had to remember/work out how to make it and got the size of the square wrong on my first attempt, the gold one, and it is on the tight fit side…
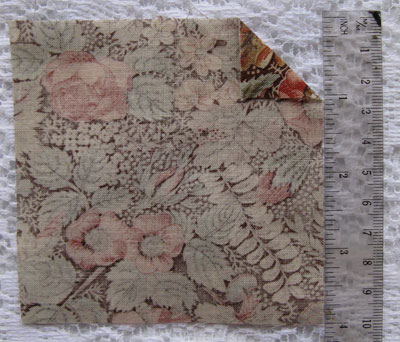
I also realized that to illustrate it clearly I needed a fabric with a right and wrong side, that is when I chose the fabric that matches the work box I showed last night.
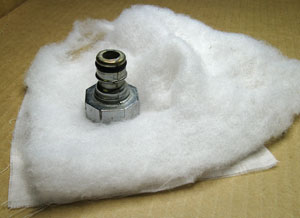
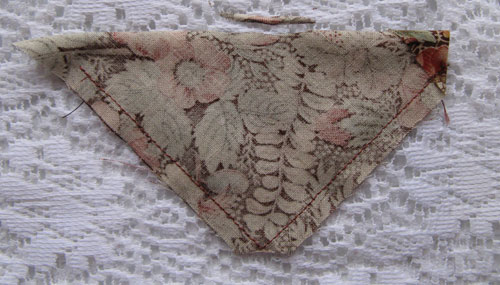
To make your own start with a 4 inch square of an even weave fabric.
Turn one corner to the wrong side as per the photo.
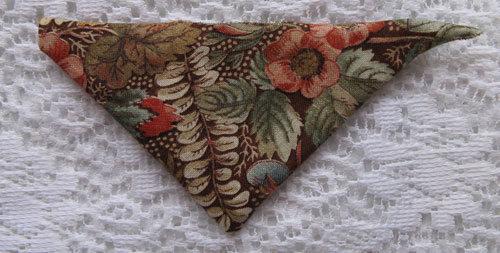
Fold the square, right sides together, diagonally with the turned under corner at one end.
Starting at the turned under corner, use a 1/4 inch seam to stitch 2 edges of the triangle, stopping a 1/2 inch before the end.
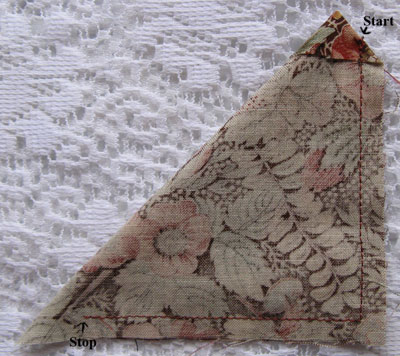
Clip the point to reduce bulk.
In the middle of the fold cut a 1 inch slit along the fold.
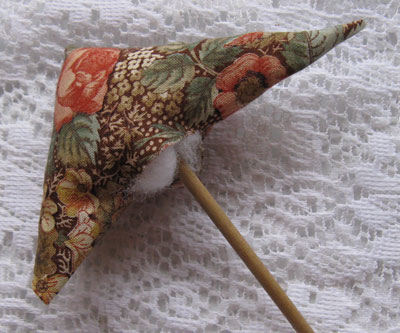
Turn right side out through the hole, pushing the unturned corner all the way through.
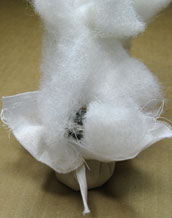
Stuff the central portion until it is firm.
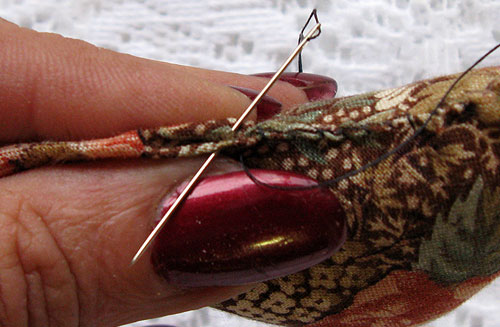
Turn the edges of the slit in and whip stitch to close the hole… This is a little finddly and you may find that it puckers a bit as you stith it, Don’t stress if is not real neat as this seam is on the inside of the finished ring.
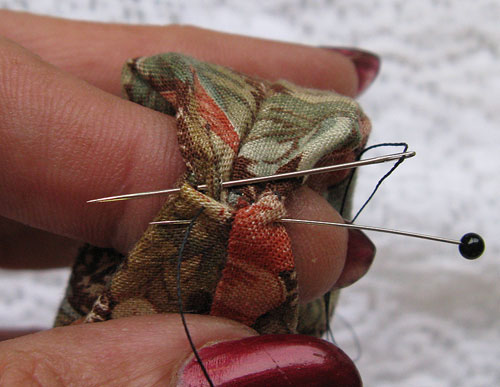
Wrap the long points around your thumb and use a pin to mark the overlap.
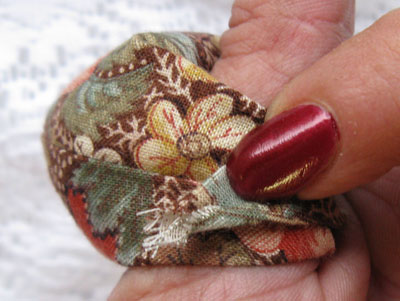
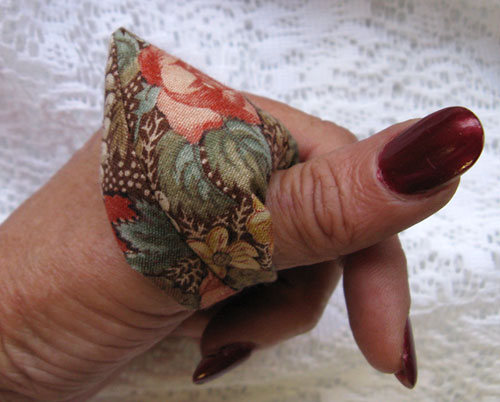
Poke the raw point into the turned under corner pin and test size…adjust until it is a comfortable fit…Stitch the ends together.
Happy Stitching.
|


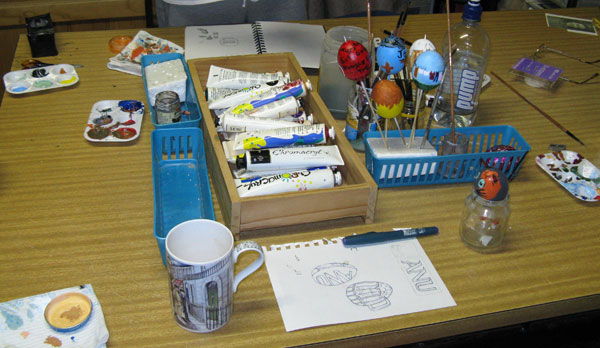
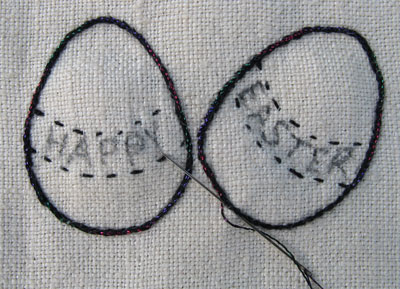 Now that Easter is over I have got time to record Easter on my Sampler or st least get it started…I started by drawing 2 eggs and outlineing them in black stem stitch, the black looked to severe so I overstitched it with a fine varigated matalic thread which has softened the edges.
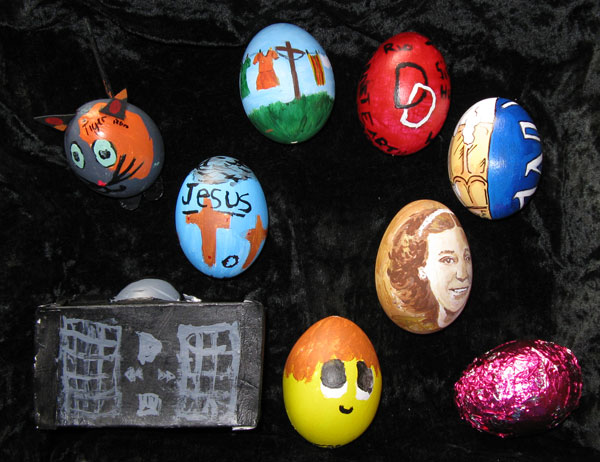
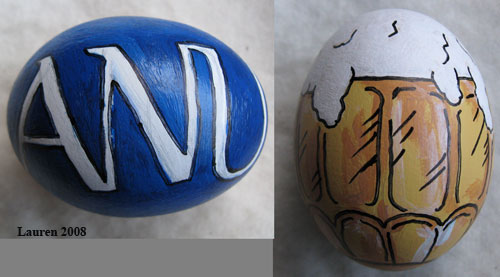
 Lauren has used her life at uni for her inspiration dividing her egg into halves, one half for the series study at the Australian National University, the other half for the social life.
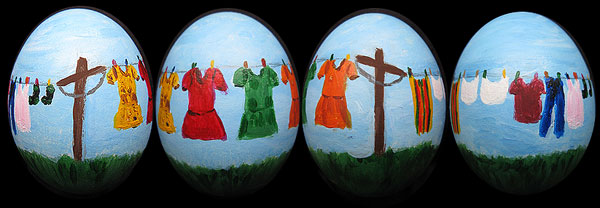
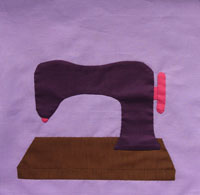 As you can now see it is a sewing machine that I am appliqueing…It is finished but I am not going to show the finished block untill next month
 This is the start of a hand appliqued block for a group quilt and for tonight I am going to leave you guessing as to what I am appliqueing…
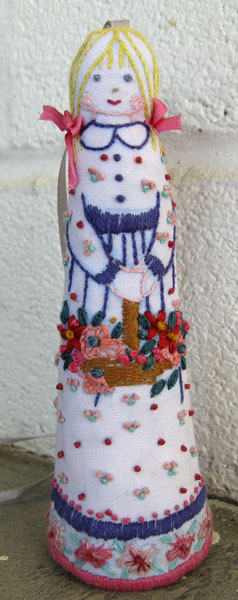
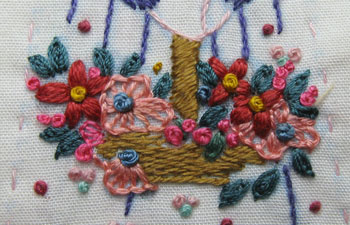
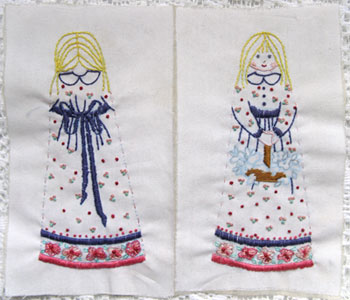 The kit to make this Scissor Keeper was a Freeby on the cover of a needlework magazine, I started it when on holidays a few years ago…I found it in a box the other day, nearly finished, it didn’t take me long to embroider the flowers in the basket and stitch the 2 halves together.